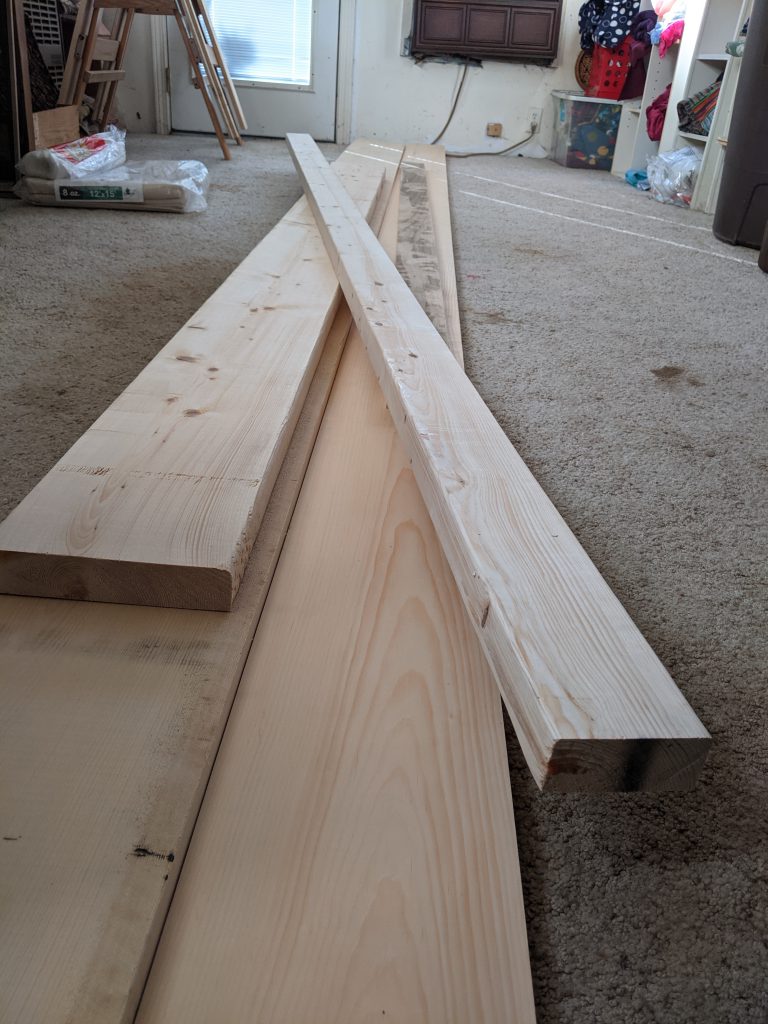
Before buying wood, I needed to figure out roughly how big a boat I wanted to make. The Greenland kayak design seems to be quite long and narrow – about three times your height, and barely wide enough to squeeze into, so for me that would have ended up around 17 feet (5m), and something like 20″ wide. I have been using a dinky 9′ plastic tub that is about 28″ wide, so this would be quite a leap. Besides, I don’t have anywhere to store a 17′ anything in my house, and don’t want to leave this labor of love outdoors where it would be subjected to the vagaries of New England weather. I settled on a 12.5′ length and 24″ wide. Maybe a little wide to roll, but since I’ve yet to learn how to do that and mostly paddle around in calm lakes and streams, this doesn’t seem like a big problem. Having settled that, I headed to the lumber yard to pick up some 2x construction-type softwood lumber that will make up the large longintudinal pieces: the gunwhales, keelson and chines, plus some clear pine for the deck beams and other assorted pieces. The ribs that make up the hull will be formed by bending them into shape and require some more specialized stock, and I haven’t yet figured out what to use, so those will be chased down later.
The first actual woodworking can begin! I needed to shape the gunwhales, which are the two large pieces, one on each side, that define the outline of the boat as seen from above (or below), and into which everything else will fit. I ripped these in the driveway using a circular saw and a simple jig to keep it aligned reasonably well:
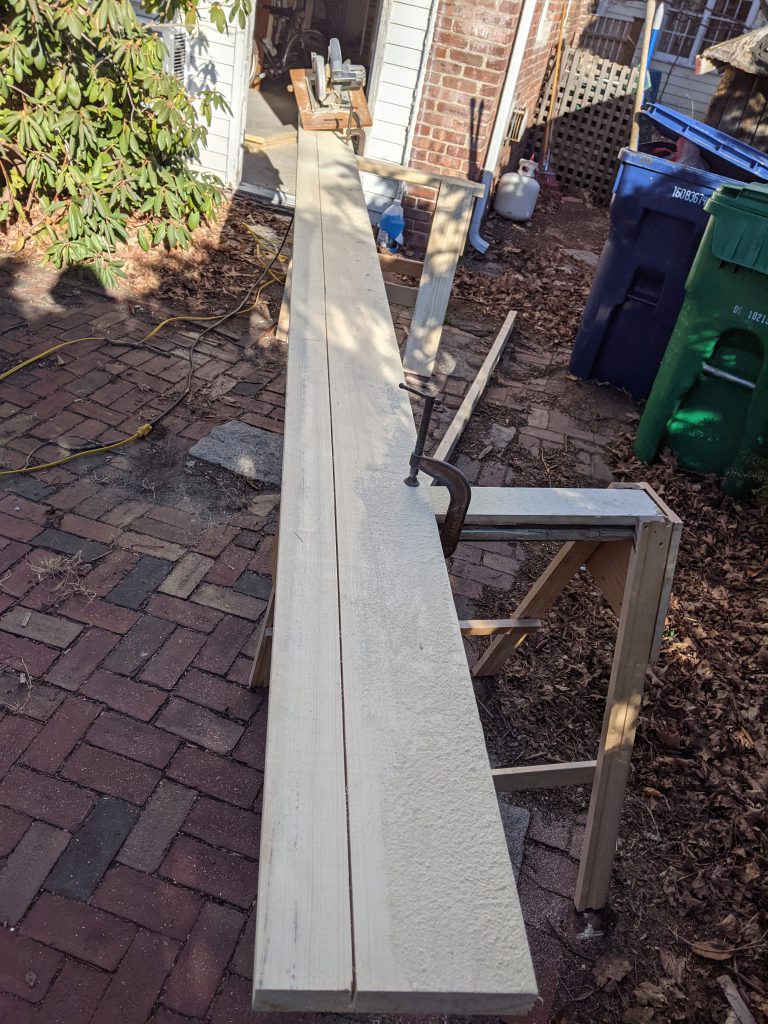
hm, I guess the blade slipped a bit while resawing to 7/8″ thickness using the circular saw.
It’s important that these two pieces are cut from the same board and have the same dimensions. The symmetry of the boat will rely on their being held in opposing tension, so they need to behave similarly. I was a little worried about that wandering sawblade cut, but hoped it wouldn’t compromise the form too much! The first of many deviations from perfection, sigh.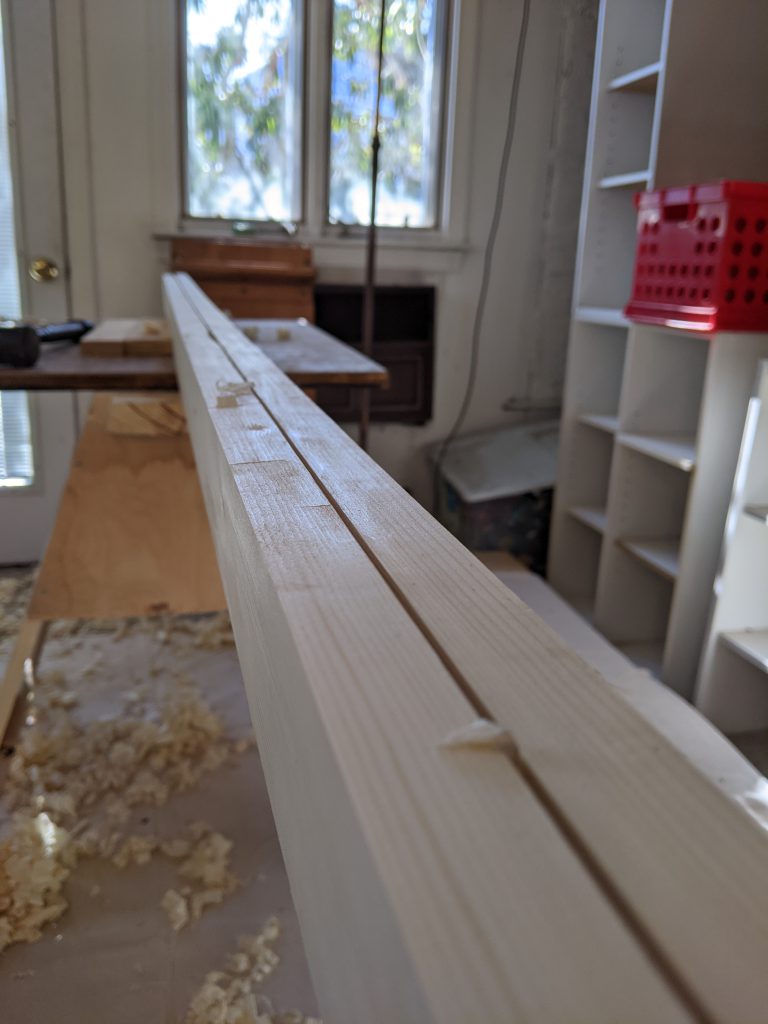
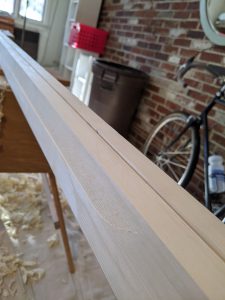
Someday maybe I’ll acquire a machine planer, but I haven’t been able to justify it yet. And it’s still a pleasure to hand plane such clear pieces of softwood with a nice sharp blade. Here they are starting to look pretty clean after the saw marks have been removed. The ends of the gunwhales get tapered and shaped in the ends where they will rise up.
I splurged and bought this antique compass plane on E-Bay to shape those inside curves. This is an amazingly clever tool; its sole can be adjusted to a range of different curvatures. The one I got was probably 100 years old, but still in great condition. Whoever sold it had even kept the blade sharp, so I didn’t even really need to touch it up before using it!
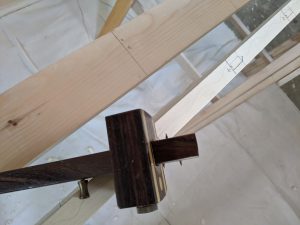
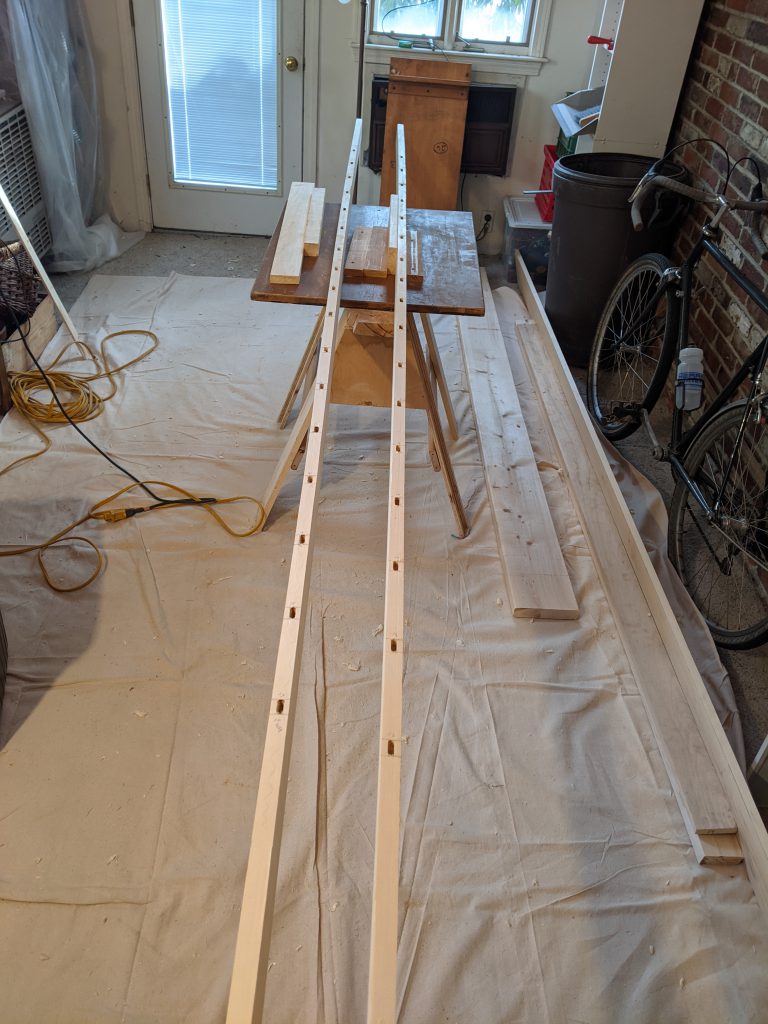
Next, I measured and marked out the locations for all the deck beams and ribs. I love this marking tool: it makes it easy to get the same distance from the edge every time, and even has a two-point setup so you can mark both sides of the mortise at once.
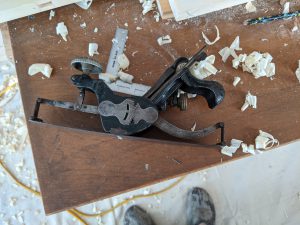
Then I cut the mortises for the ribs using a router with a jig to enable me to reliably and fairly quickly make the same cuts. The mortises for the deck beams need to be cut at a compound angle, so they will be done later using a less automated process, once the shape of the gunwhales is defined.
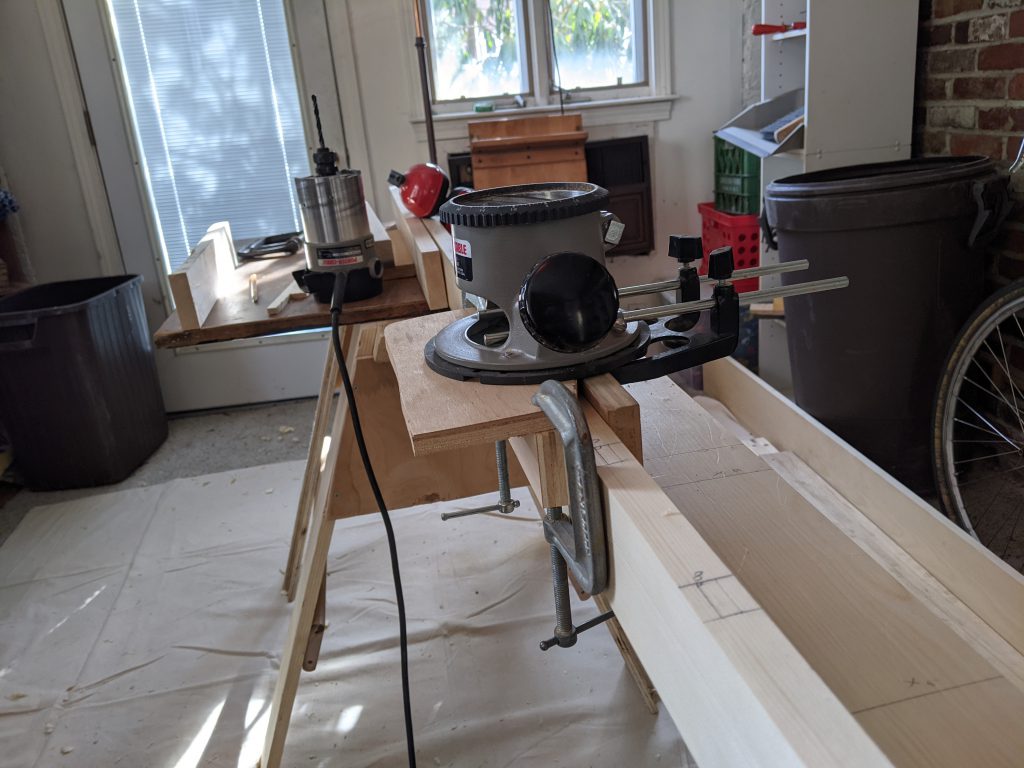
The rib mortises came out pretty nice
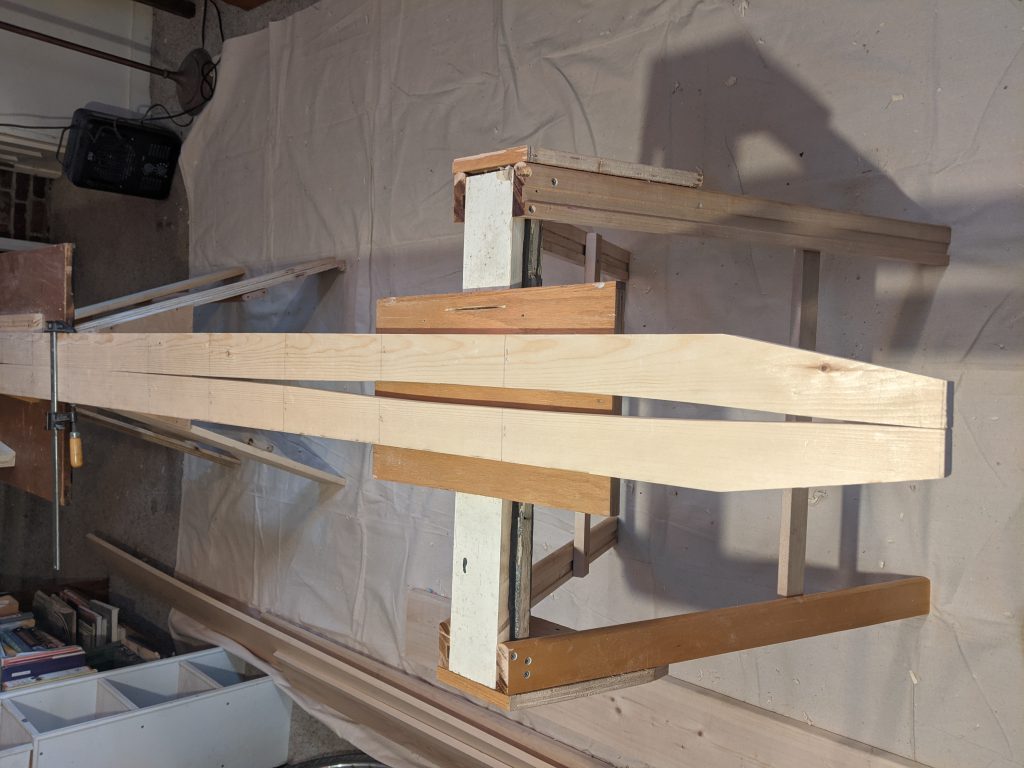
The form of the boat is defined using plywood stretchers that hold the gunwhales. I think this process was designed for a much longer boat which would have had a gentler bend. In this form factor, the pressure on the gunwhales was pretty intense, and it was hard to get the forms to stay in place. The one in the foreground below really wanted to slip forward. I was consumed with anguish for days worrying that I had veered too far off the plan I was following. One concern I had was that the gunwhale tips didn’t meet at a sufficiently acute angle. They were expected to end up nearly parallel, but in my setup they left a pretty gap where they met, as you can see below.
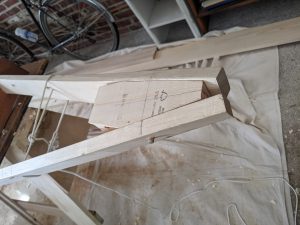
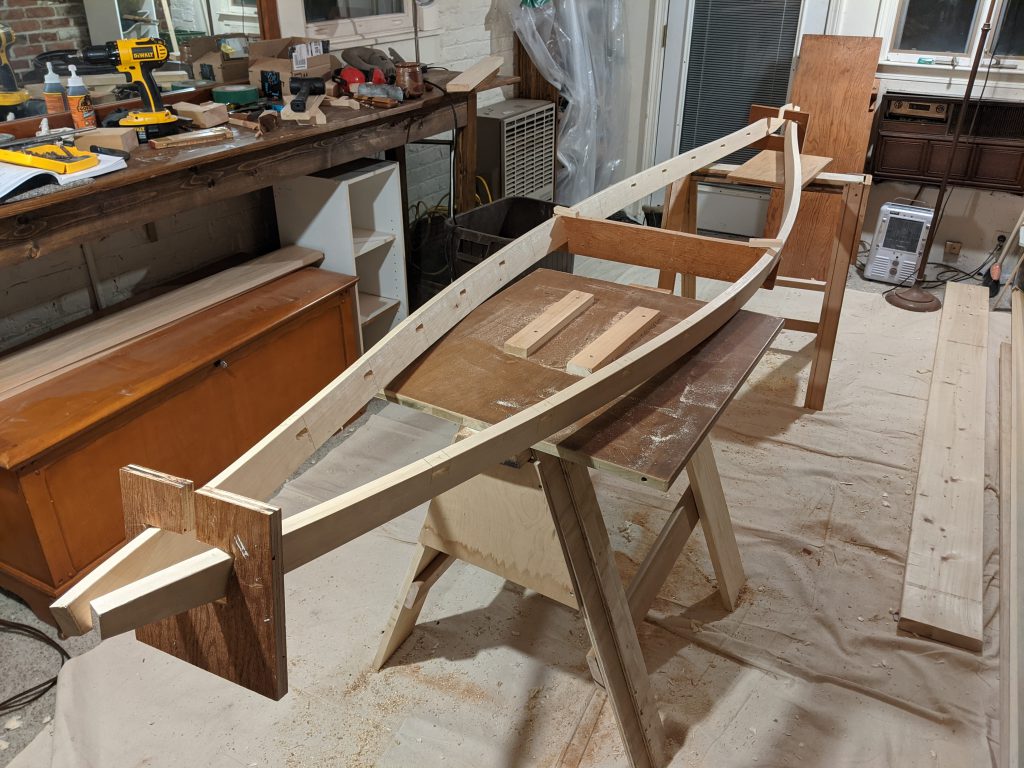 After mighty struggles to force a tighter shape into the gunwhales, I finally decided to relax and let the wood dictate the shape. I added a breasthook to hold everything together in the stern. Cutting the compound angles on that block was a fun challenge.
Here is the boat really beginning to take shape, with all its deck beams in place. The curved beams are raised up to allow space for the paddler’s legs. This is going to be a pretty tight fit! You can see the variety of clamping systems I used to hold everything together. I had some major issues getting to this point. When I first tried fitting everything together, some of the beams were too short, or maybe the others were too long? I had measured so carefully! What went wrong there I’m still not entirely sure. I think maybe the shape changed while I was measuring? It was under so much tension, and possibly not held completely still. I had to re-cut some of the beams to get them to fit.
Another significant challenge was ensuring the symmetry of the arrangement. The whole setup did have a tendency to rack and twist ever so slightly, and if I didn’t correct for that, I would end up with a crooked boat that wouldn’t track straight. Again I think a lot of these issues resulted from having shortened the boat from its original design. If I did this again, I might consider using beefier spreaders, or some other system for shaping the gunwhales.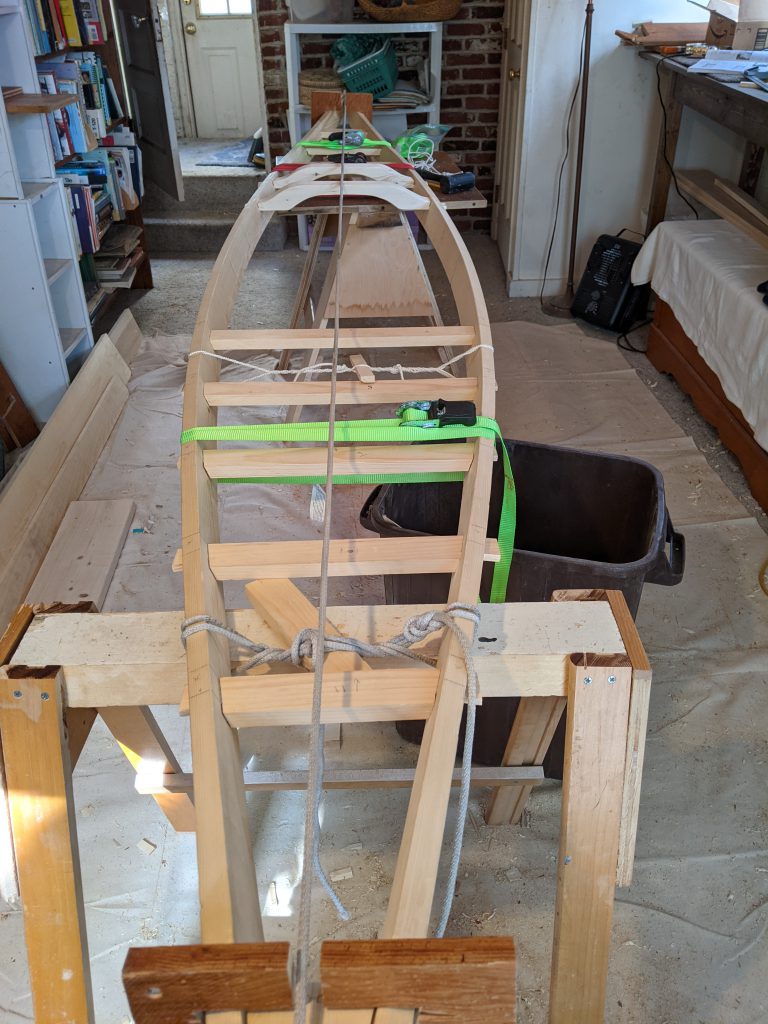
In the end the line I ran from end to end settled over the previously-marked midpoint of the center beam pretty well. Off by less than 1/8″ over 12′ – I’ll take it!
 One more photo of this stage, after pegging and lashing the ribs in place and removing the clamps:
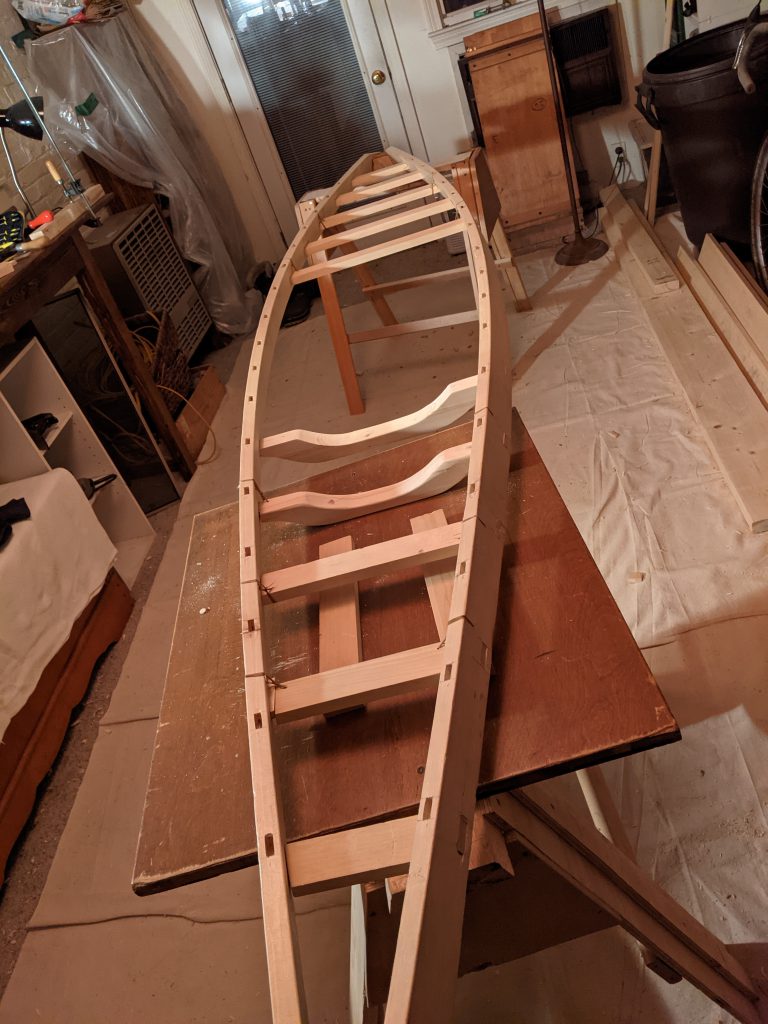
This was a major milestone, time to take a break. When we come back, it’ll be time to steam-bend the ribs!