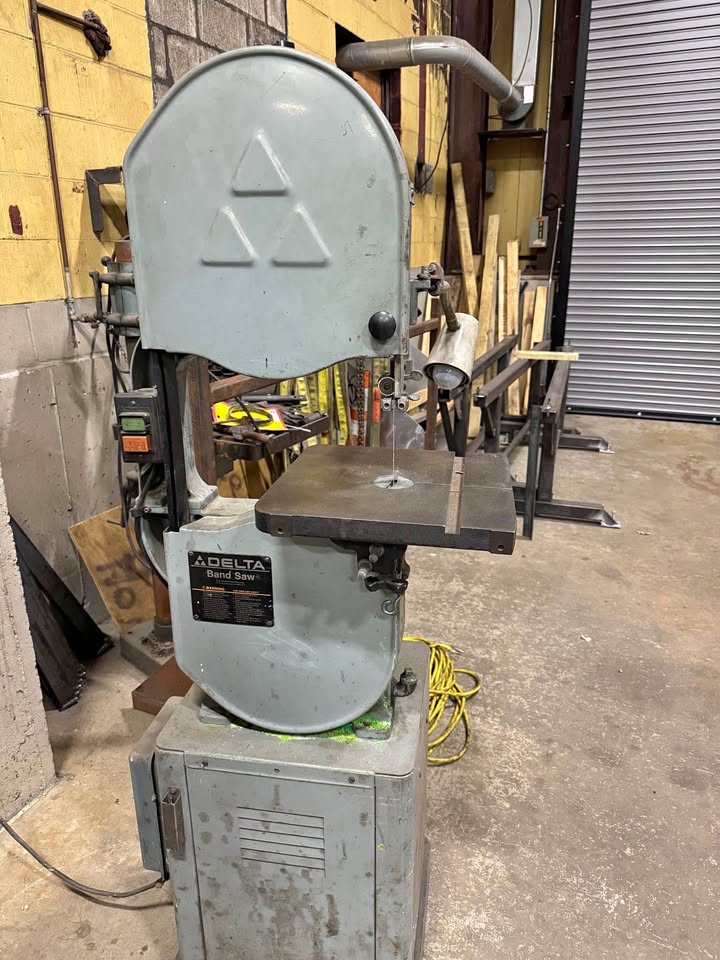
I recently decided to act on my long-festering bandsaw itch. I’ve always thought it would be nice to have one, although I’ve gotten along OK without it, cutting curves with a jigsaw or scroll saw, or coping saw. But now I have more space, and a bunch of big dead trees, and would like to be able to do some resawing. So I poked around online and found a reasonably good-looking used 14″ saw. I probably overpaid for it (“or best offer” means you’re supposed to offer less, clearly), and got in way over my head with this thing, but I’m beginning to think it’s going to work out just fine, phew.
My unusually patient wife came with me to an industrial site in central Massachusetts where the saw was. I knew it would be heavy and expected to be breaking it in two pieces (base, where the motor is, and the top, which is a heavy cast-iron frame plus all the actual sawing bits), so I packed up some tools and we headed over there in our sturday but not very large Subaru Crosstrek. As it turned out, I didn’t need to worry about the tools as there was a well-equipped shop there, including a forklift and a roof-mounted crane that we were able to use to get the ~140 lb saw into the car in its two pieces. The seller did plug it in so I could verify that the motor ran and the saw would operate, but later I realized there were so many other things I could have and maybe should have also checked out.
We got this to our house, but it was too heavy to do anything about until my strong friend Brian showed up. The two of us managed to move the two pieces in a wheelbarrow out to the barn and set it up in a likely spot. Brian took a look at this thing and basically said I’d need to strip it down and see what might need some work.
I have to admit to some naive optimism – sure it was kind of old and beat-up looking, but who knows? Maybe it would all just plug in and run? So I spent a little while reconnecting the saw to its base, carefully tuning the table to be at precisely level and the blade guides to their 1/64″ clearance, reattached the belts connecting the motor to the pulleys on the saw, and then turned it on. Well, the light lit up, and the motor turned the wheels and blade, but only slowly (it was set up for metal cutting), and then it started to make horrible groaning noises! I spent a while cursing the people who had sold me this albatross, and then got to work trying to diagnose what could be wrong.
This saw has a shifting mechanism that enables the motor to be connected (via a belt) directly to the wheel to run at high speed (3000+ feet-per-minute) for cutting wood, or by way of a gearbox to achieve one of several lower speeds (40-335 FPM) for cutting various kinds of metal. Or at least that is what the manual says. When I tried to maneuver the clutch, I could not get it to move. At this point I started casting about online and discovered a community of enthusiasts, many of whom had posted photos, videos, and detailed descriptions of their own processes of saw rehabilitation. Many described jammed clutches, similar to mine. Some said it was due to pins being sheared off and getting stuck. Others talked about gummy oil residues. I honestly hadn’t expected this machine to have oil inside! Once I started removing pieces from the saw, taking the blade off so I could rotate the wheels independently, disconnecting the motor so I could check it separately from the wheel, I realized that the lower wheel was verry hard to turn. It seemed like it really ought to spin more freely. This, together with the evidence of the various rehab videos convinced me to open up the .guts of the saw and see what was stopping the clutch from shifting and the gears from turning.
The first thing was to drain the oil out. Annoyingly the drain plug on this saw is inaccessible when the saw is attached to its base?! So I had to disconnect these again, and hoist the upper part onto some sawhorses to get at the drain. It weighs a lot; more than 100 pounds I’m pretty sure, but I rigged up some ropes and a pulley and managed to swing the thing over. Then, after opening the drain, a drop or two came out. Then again, someone in his video had said it took more than a day for his to drain — I guess this gear oil is pretty thick? So I left it alone and bought myself a set of gear pullers for getting the various components off the axles or shafts on which they were mounted, and some fancy solvent called Kroil because I had misplaced my WD40 and someone said this stuff was better.
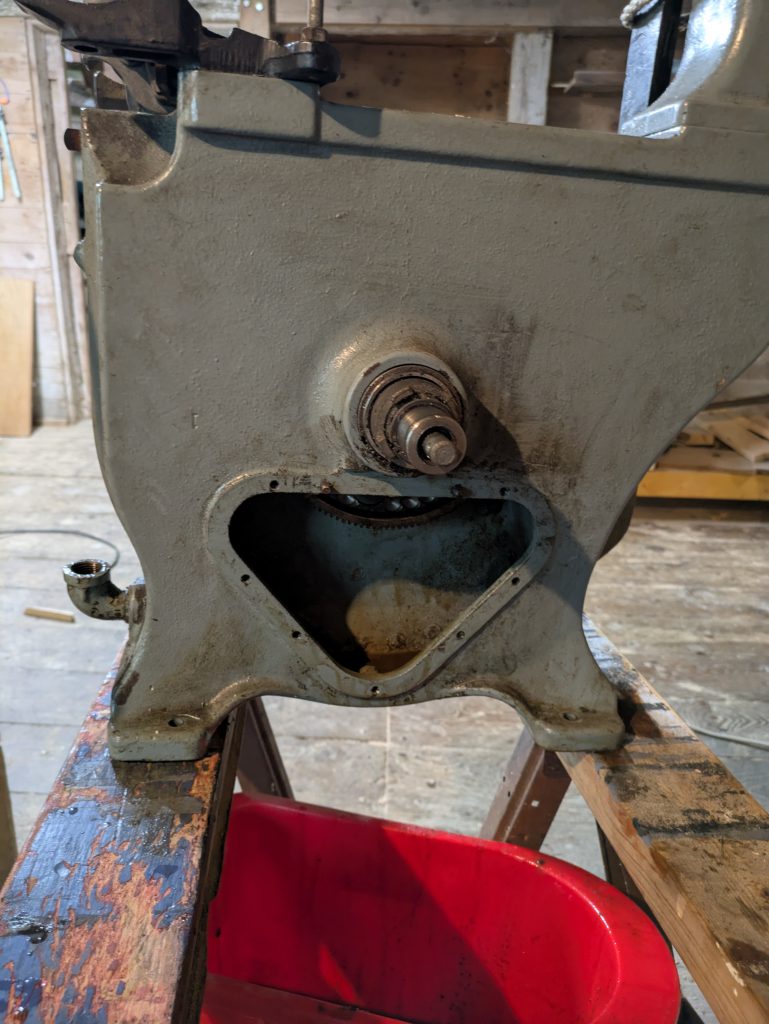
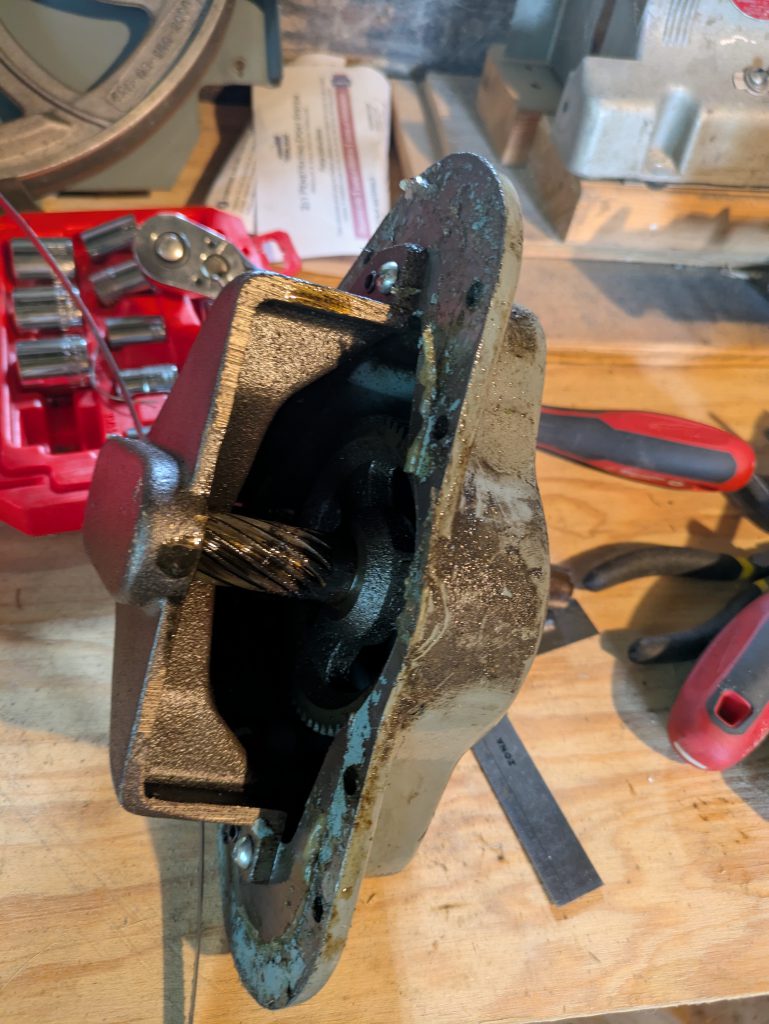
After a few days I came back and the oil seemed to have finish dripping out. There wasn’t much: maybe a quart, and I had added a little motor oil, while the saw was supposed to be filled with 2-1/2 quarts. You can see the inside (and the outside) was pretty filthy:
Check out those drilled-out impressions on the gear you can see in the picture. I think those must have been used to true the gear. There wasn’t a proper gasket, just some silicon caulking, and I suspect oil was leaking out of this thing all the time. The stuff inside smelled terrible too – honestly it smelled like baby poop after the baby ate spinach for the first time, plus it seemed to have a lot of grit in it, maybe metal shavings or something. So I cleaned all that stuff out as best I could, adding motor oil, rocking it back and forth, getting in there with newspaper and my fingers. I took the gearbox apart too, just to get its parts cleaned up as long as the whole thing was opened up.
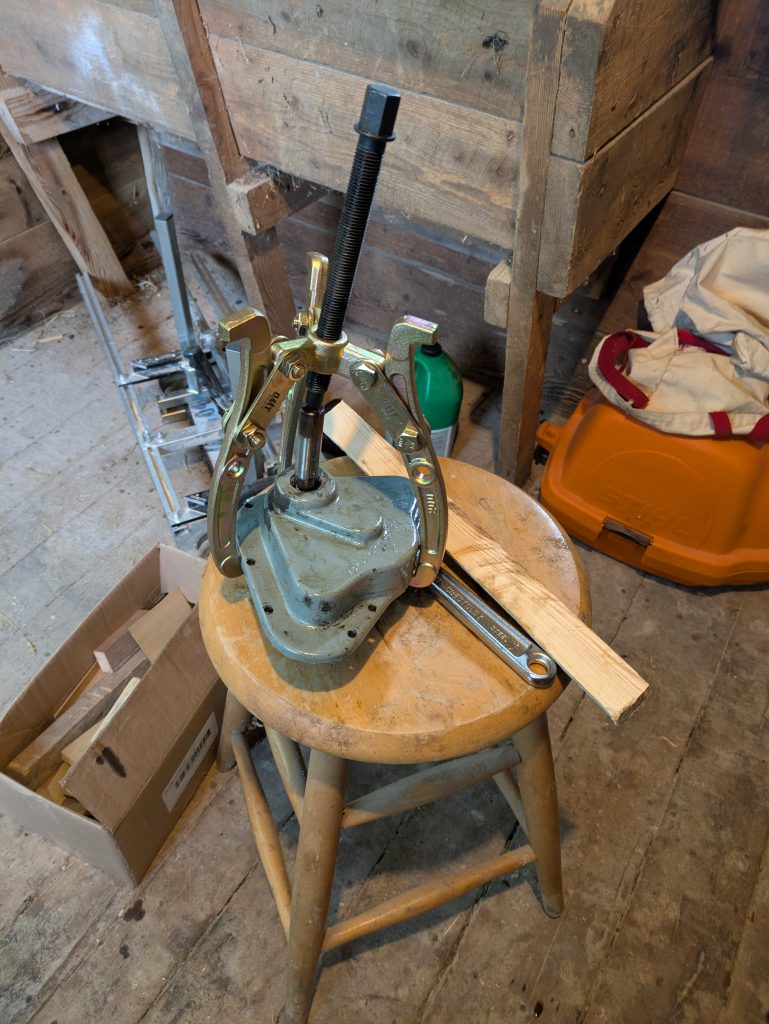
The gear puller is off-center because the gearbox isn’t symmetrical, but it seemed to work out OK. Then I tackled the upper shaft, which has the clutch assembly on it that wouldn’t move, and is directly attached to the lower wheel around which the saw blade turns. It took me a while to figure out that the nut holding that wheel on is threaded backwards and needs to be turned clockwise to remove. Thank you internet! In the meantime, I sincerely hope I didn’t damage it too terribly by wailing on my crescent wrench with a hammer, sigh. After some precision bashing with a hammer and a piece of wood, I got this out:
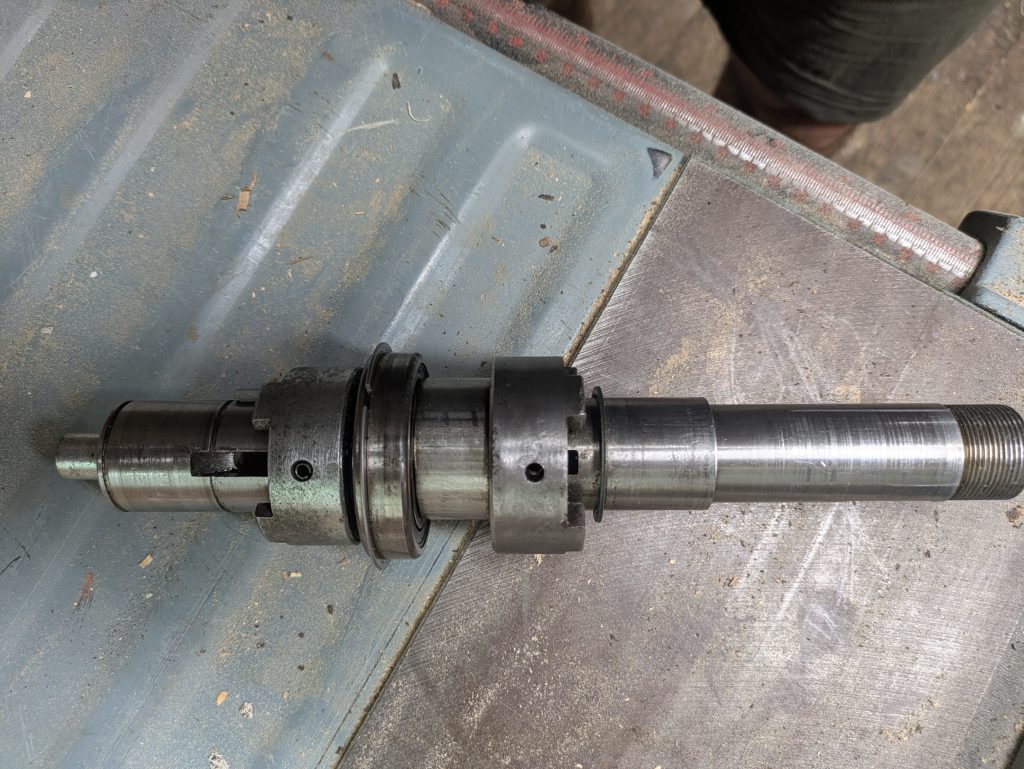
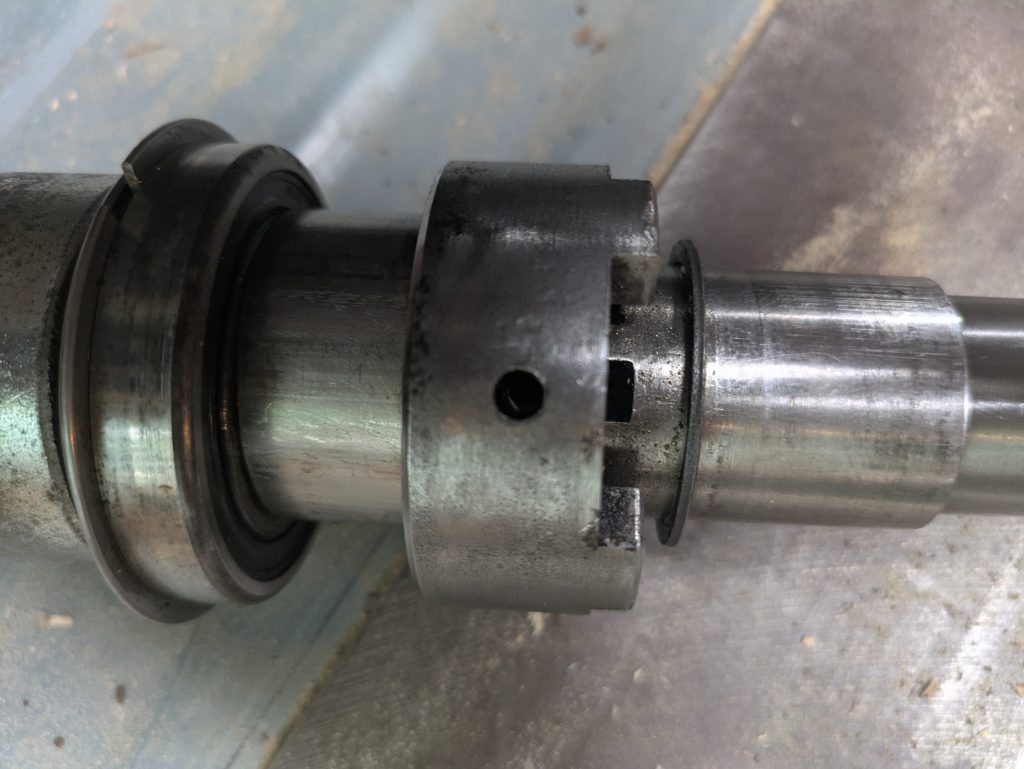
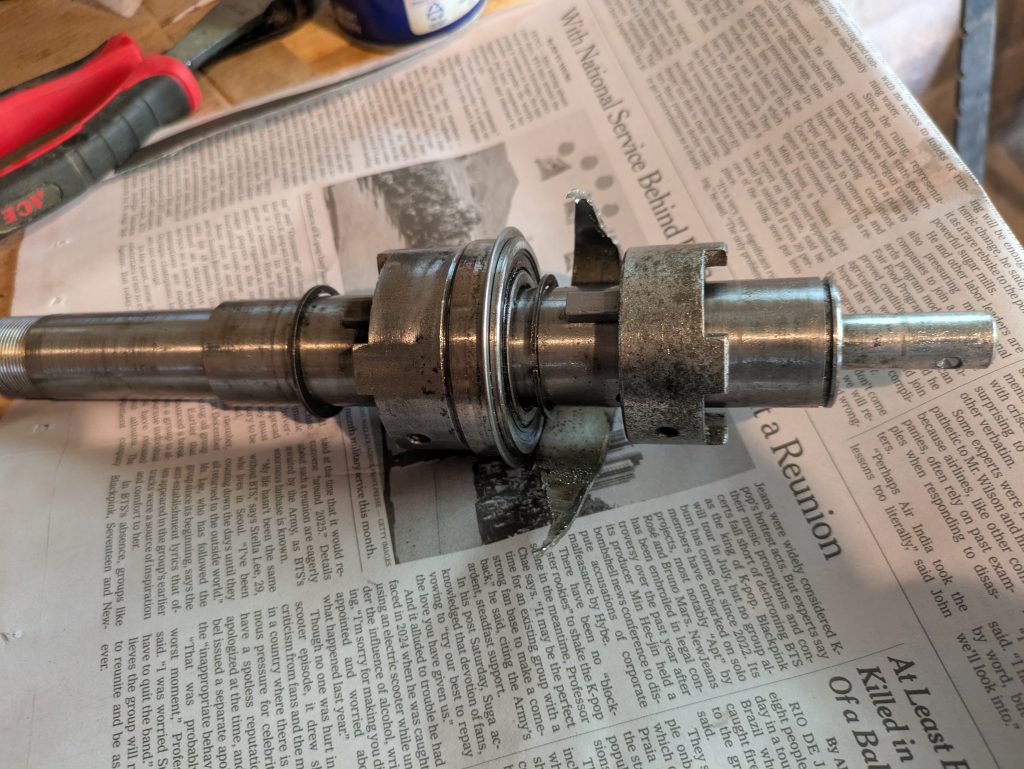
If you look closely you can see these two cylindrical pieces with rectangular teeth that look like battlement crenellations. Those are called Lovejoy couplings, apparently, and are supposed to mate with the big gear on the inside (the one that has the divots drilled out of it, shown above), or, in its other position, a pulley (not shown here) that mounts on the outside of the box and connects to the motor with a belt. But these suckers just would not move. At first I could not see what was preventing them. My initial theory was that one of the roll pins that goes in the holes in those Lovejoy couplings, and then into a slot in the outer shaft, and finally (I think? I couldn’t see) into the inner shaft that is supposed to slide up and down with these couplings, and holds the whole thing together, more or less, was broken off somewhere deep inside. This theory was prompted partly by various internet stories of similar things having happened, but also by the fact that one of these pins, unlike the other, was not flush with the surface, but appeared to have been driven deeper in. After some fruitless minutes spent attempting to drill out one of these pins, I started looking for other theories. Luckily my drill bits were not up to the task. Then I spent a while trying other various things, staring at the object, turning it around, scratching my head, returning to the internet to look at other peoples’ disassembled assemblages of parts, and it finally dawned on me that mine had an extra part! It looks so natural and unassuming, I hadn’t even noticed it, but there is a bushing, or spacer, in between two of the parts that just does not belong!? Some truly sadistic person had gone to the trouble of taking this whole business apart — they would have had to remove the aforementioned roll pins, not an easy task (although it would have been easier when the whole thing would slide properly since they probably could have been driven out with a punch when properly lined up with the holes on the opposite side), and adding a new piece which made it literally impossible to undo. Maybe they intended to disable the clutch so the machine could only and ever be used for metalworking? Or so it seemed to me. I find it difficult to conceive what this was all about. Anyway I managed to cut away the offending bushing with a hacksaw.
I did only minor damage to other parts in the process, cringe. After all that, and lots of Croil and TLC and oil, things did start to slide, halleluiah. Then I put the whole upper shaft back in, with its inner gear, and the lower saw wheel, because I just had to see if things were going to spin at high speed. I tried to share the vertiginous victory video I captured on my phone, but I am not sufficiently skilled to rotate, crop, rescale, transcode, and compress it sufficiently for your viewing pleasure! But please take my word for it – it seems like it’s going to work. I’ll try to post some more satisfying clips and pics later.
Some super-helpful resources I found while trying to figure out what the heck was going on:
- Video of someone taking apart this saw and fixing the clutch
- Thread on owwm (“old woodworking machines”) about rehabbing this saw
- Another thread with pics about the same model
- A sketchy scan of the manual

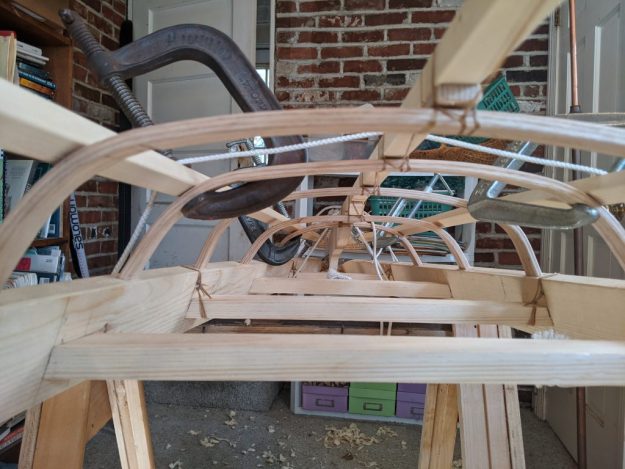
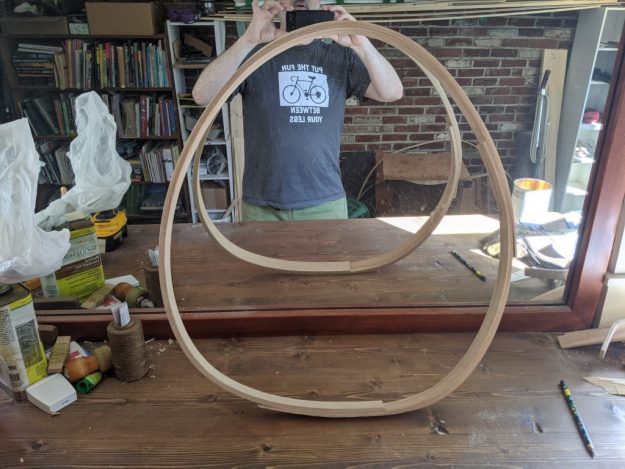
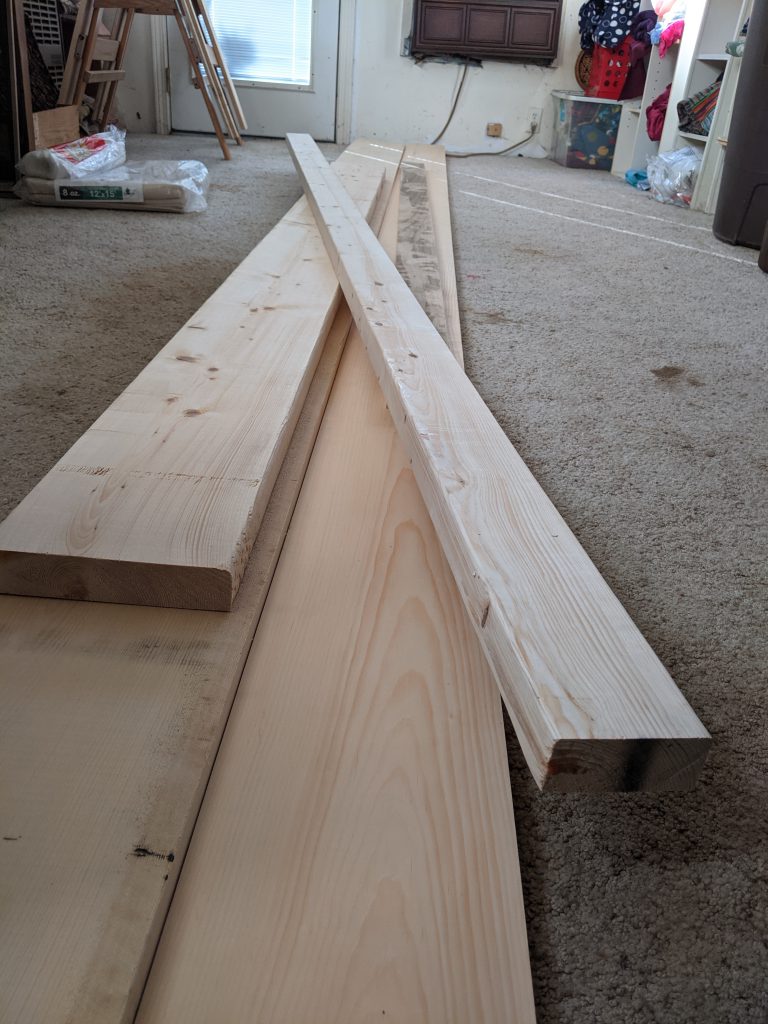
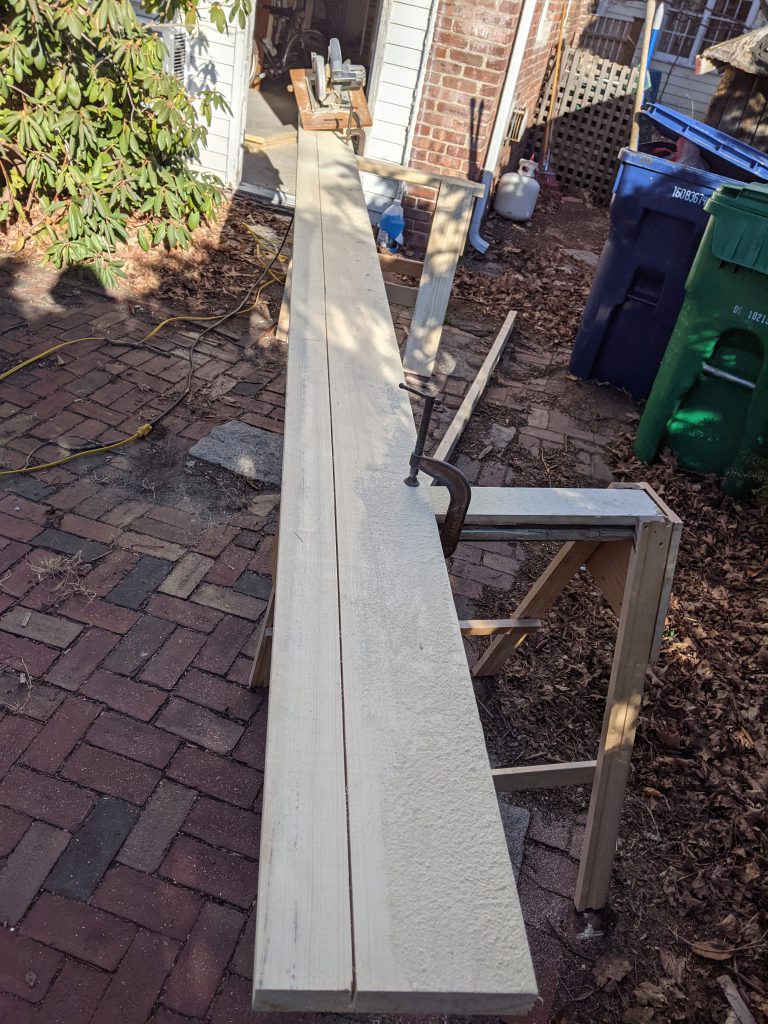
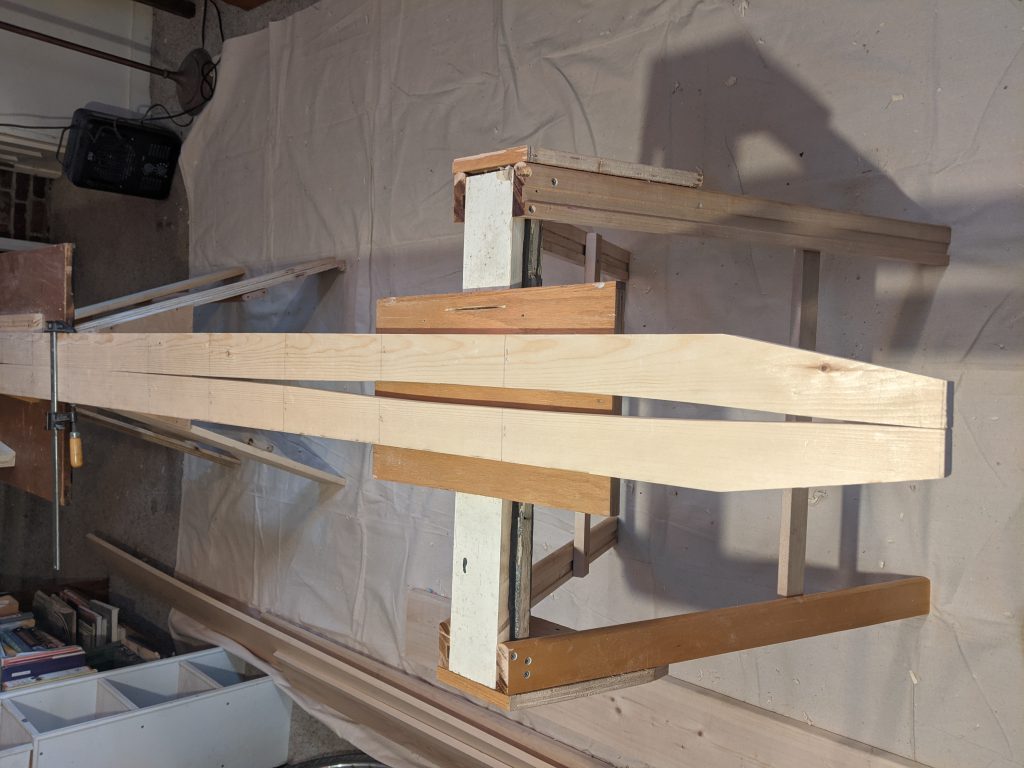
 I won’t go into the whole bending process itself – there are some great videos from pros out there you can watch if you care to. I’ll just say that it was nerve-wracking and fun, and it came out OK in the end, and even if some of the ribs did split out the grain here and there, nothing too terrible happened. One thing I might do different if I try this again though, is to pre-soak the wood. I decided not to this time, following the advice of one knowledgeable-sounding site I found. That guy had nothing but scorn for the idea. Now I’m not so sure – it might have helped. I had to apply a *lot* of pressure to bend these ribs, and I get the idea it should have been easier. You can see one of the several failed attempts at the bottom of the photo. The room smelled like hot styrofoam the whole time.
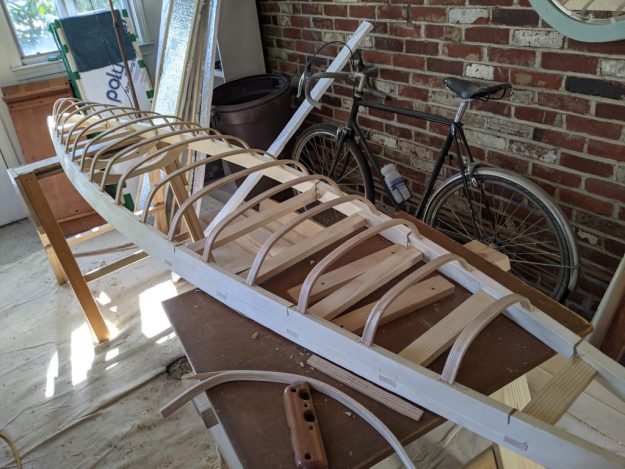
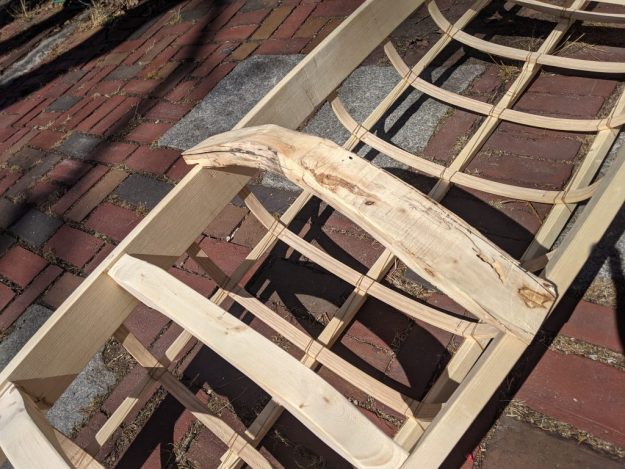 Oh no! Somewhere along the way this gunwhale developed a nasty-looking crack. More fallout from forcing them into too dramatic a shape? Oh well, it doesn’t go too deep – I hope it’ll be OK? Better get the skin on soon, that should help to hold it together, right.
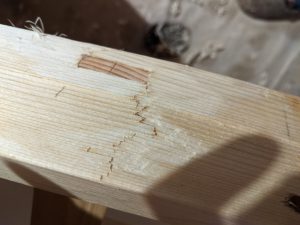
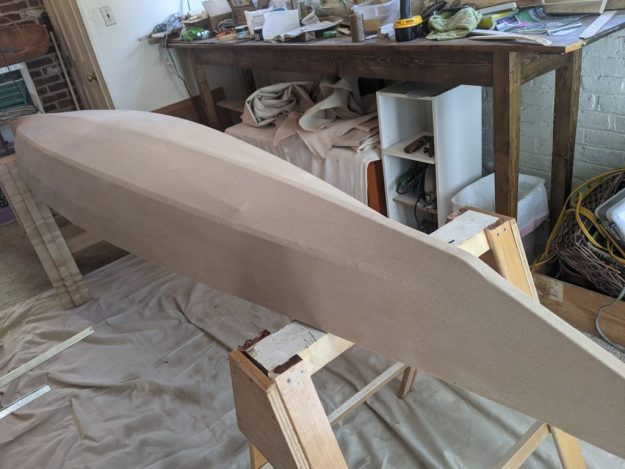

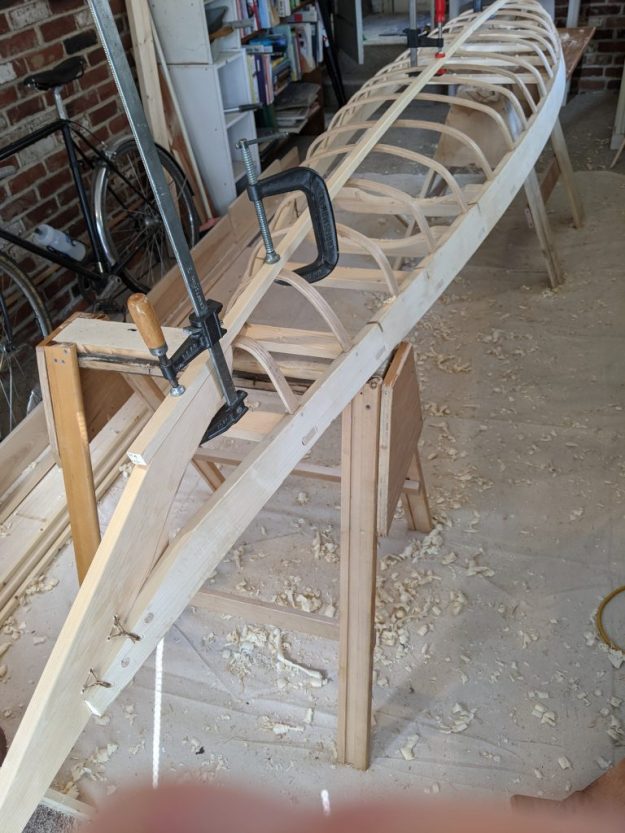
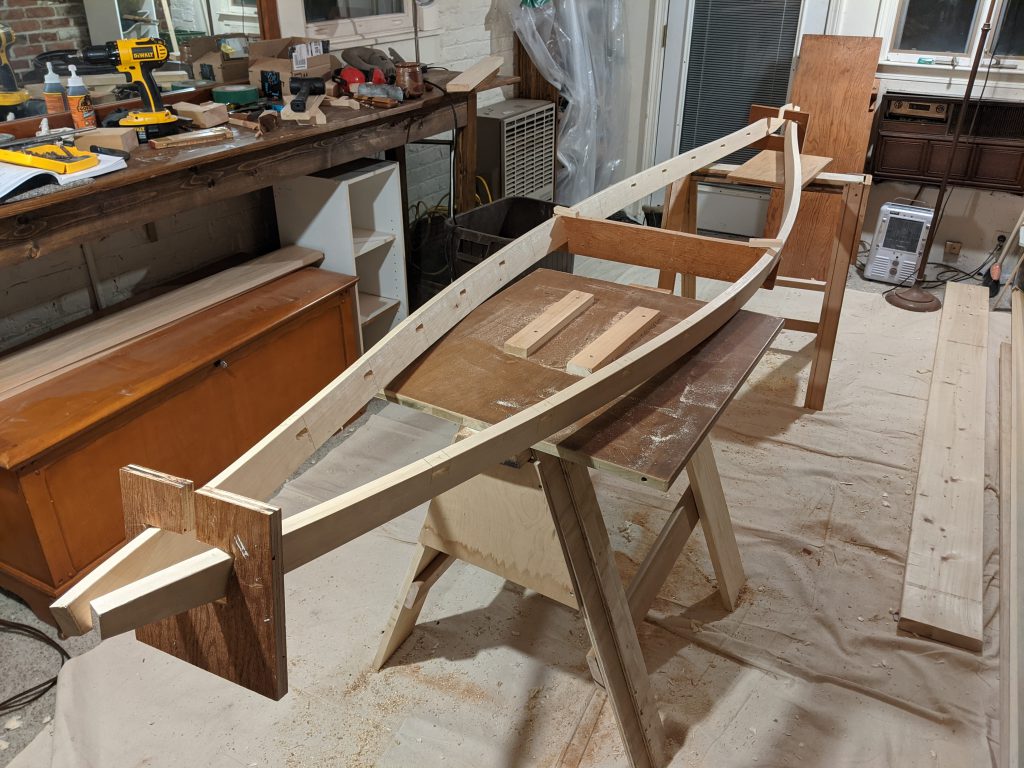 After mighty struggles to force a tighter shape into the gunwhales, I finally decided to relax and let the wood dictate the shape. I added a breasthook to hold everything together in the stern. Cutting the compound angles on that block was a fun challenge.
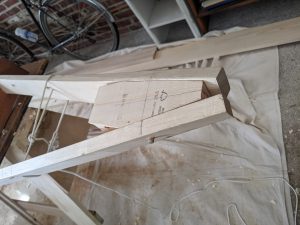
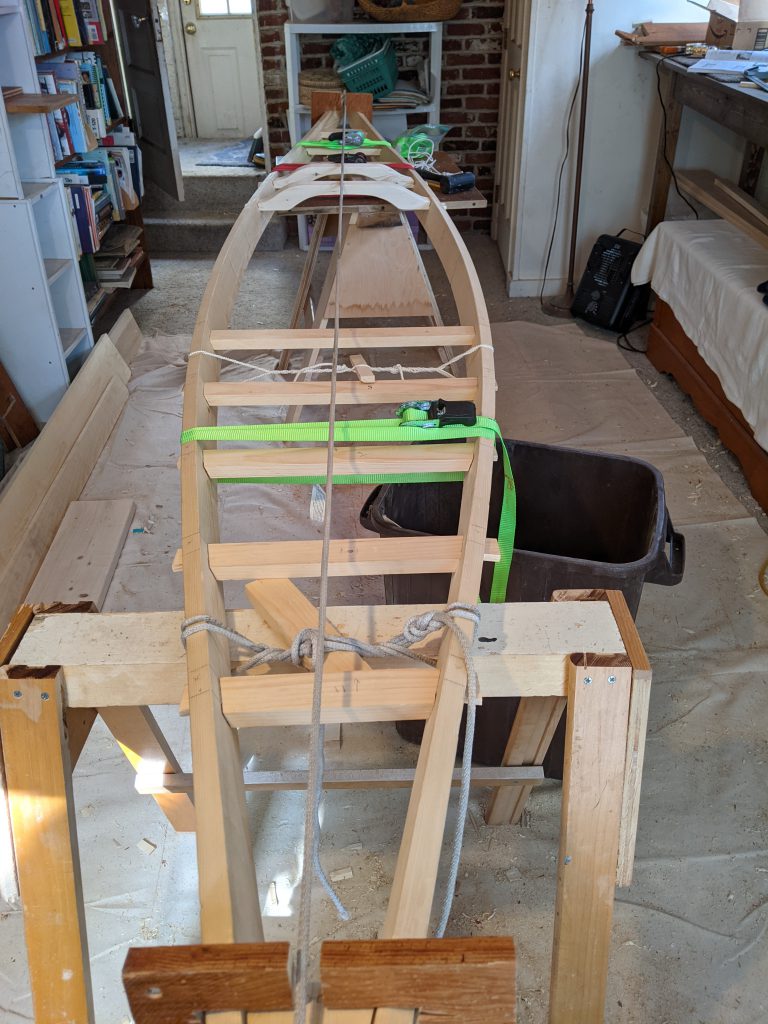
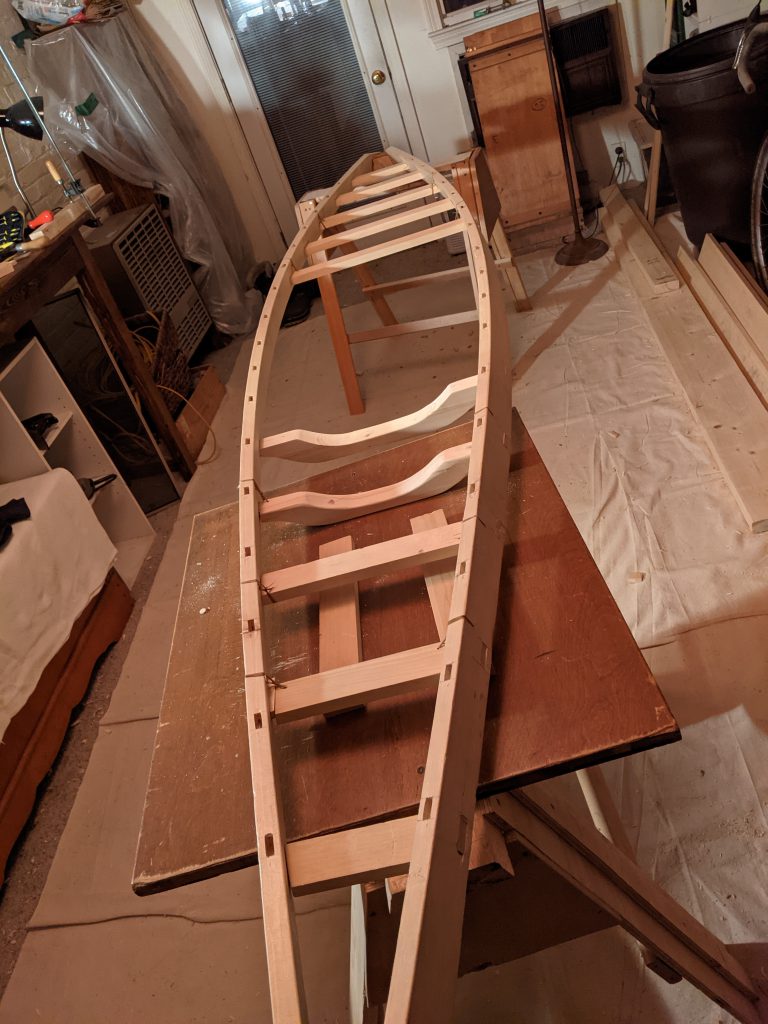
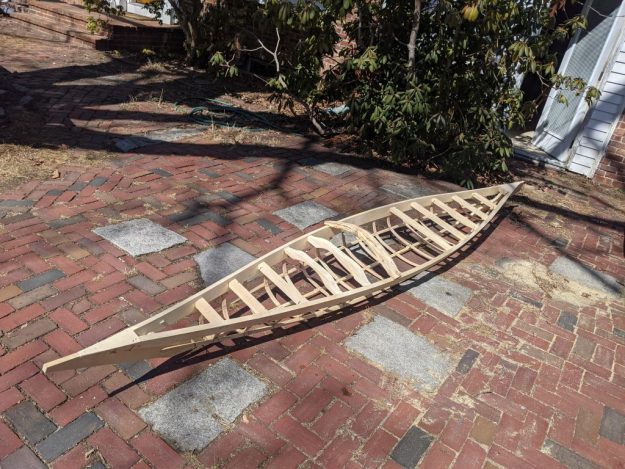
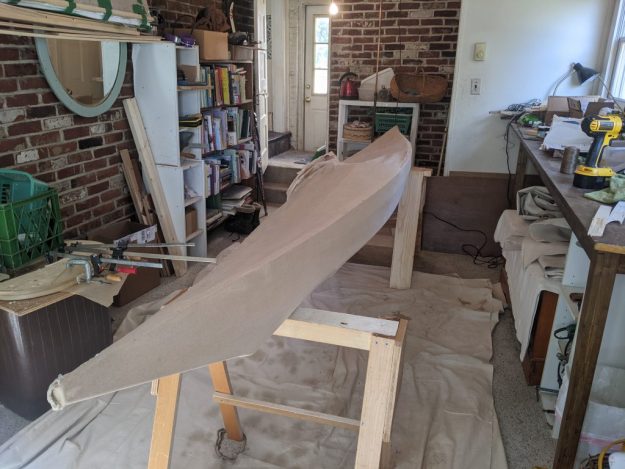
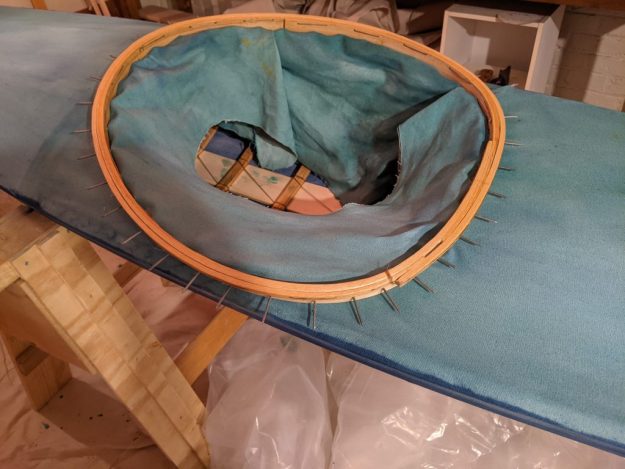
 One more photo of this stage, after pegging and lashing the ribs in place and removing the clamps: