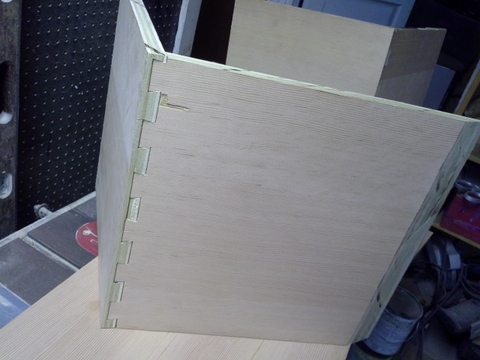
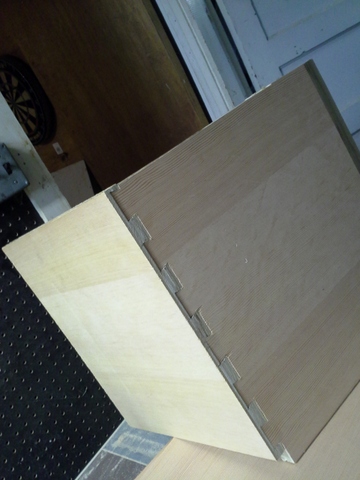
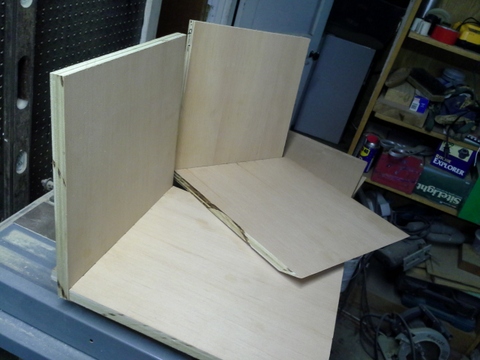
Category Archives: wood

Skin-on-frame Kayak, part 1

Before buying wood, I needed to figure out roughly how big a boat I wanted to make. The Greenland kayak design seems to be quite long and narrow – about three times your height, and barely wide enough to squeeze into, so for me that would have ended up around 17 feet (5m), and something like 20″ wide. I have been using a dinky 9′ plastic tub that is about 28″ wide, so this would be quite a leap. Besides, I don’t have anywhere to store a 17′ anything in my house, and don’t want to leave this labor of love outdoors where it would be subjected to the vagaries of New England weather. I settled on a 12.5′ length and 24″ wide. Maybe a little wide to roll, but since I’ve yet to learn how to do that and mostly paddle around in calm lakes and streams, this doesn’t seem like a big problem. Having settled that, I headed to the lumber yard to pick up some 2x construction-type softwood lumber that will make up the large longintudinal pieces: the gunwhales, keelson and chines, plus some clear pine for the deck beams and other assorted pieces. The ribs that make up the hull will be formed by bending them into shape and require some more specialized stock, and I haven’t yet figured out what to use, so those will be chased down later.
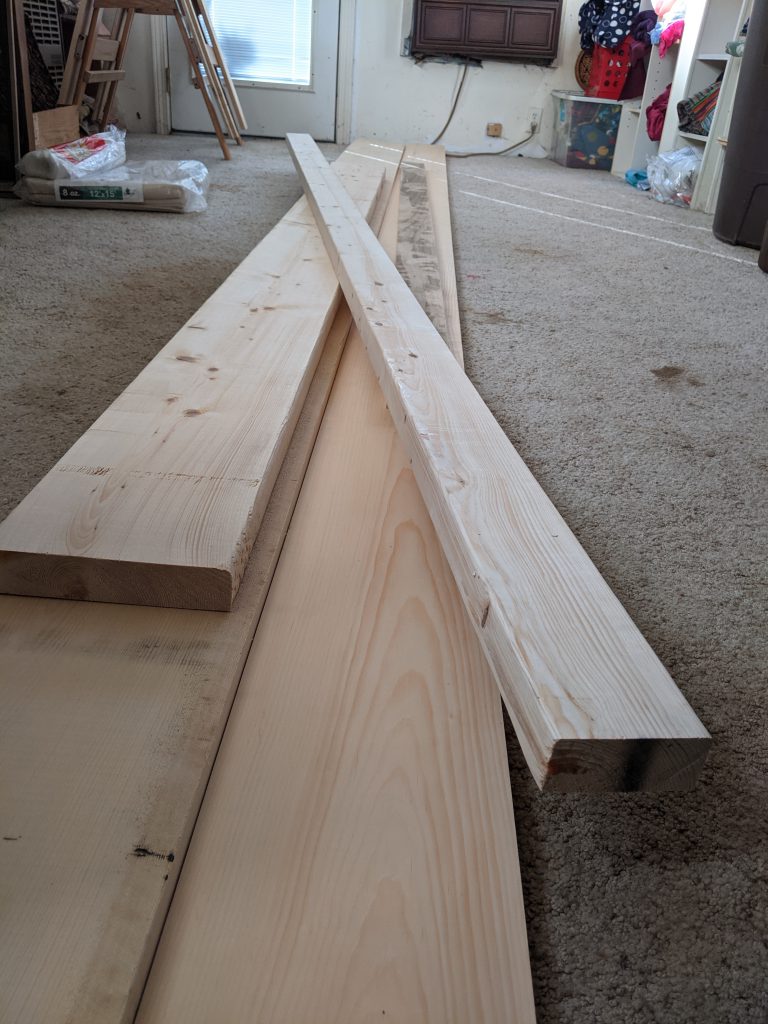
The first actual woodworking can begin! I needed to shape the gunwhales, which are the two large pieces, one on each side, that define the outline of the boat as seen from above (or below), and into which everything else will fit. I ripped these in the driveway using a circular saw and a simple jig to keep it aligned reasonably well:
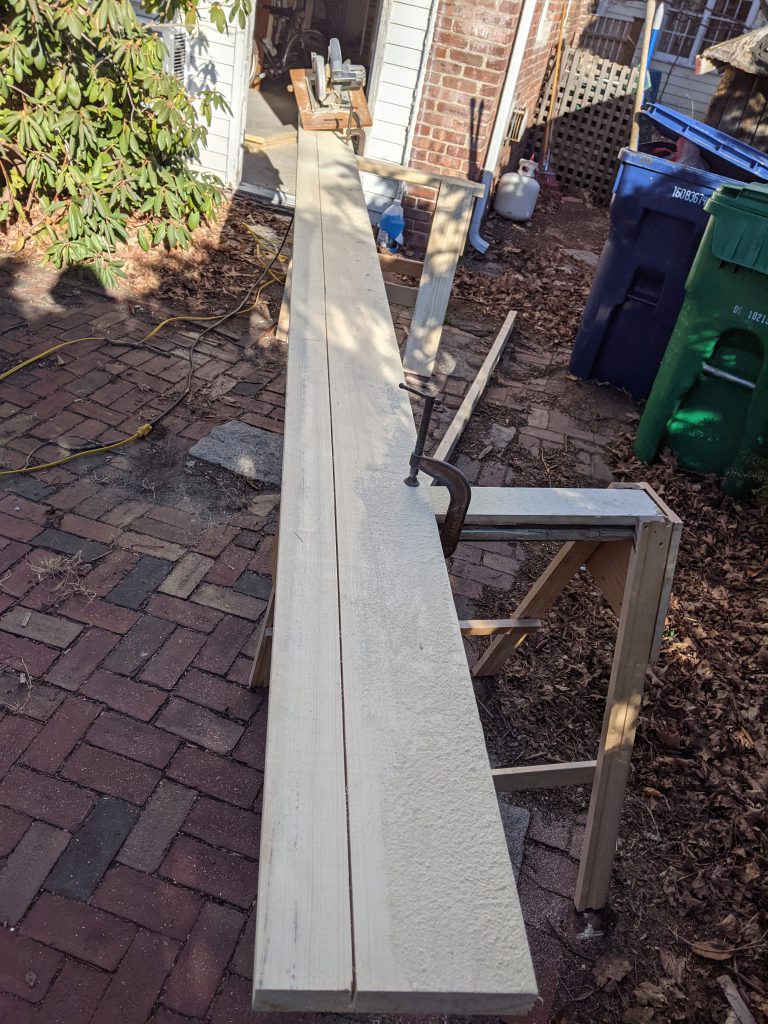
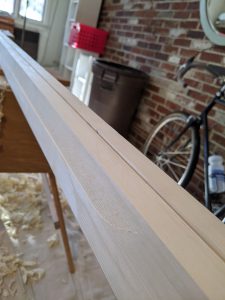
hm, I guess the blade slipped a bit while resawing to 7/8″ thickness using the circular saw.

It’s important that these two pieces are cut from the same board and have the same dimensions. The symmetry of the boat will rely on their being held in opposing tension, so they need to behave similarly. I was a little worried about that wandering sawblade cut, but hoped it wouldn’t compromise the form too much! The first of many deviations from perfection, sigh.
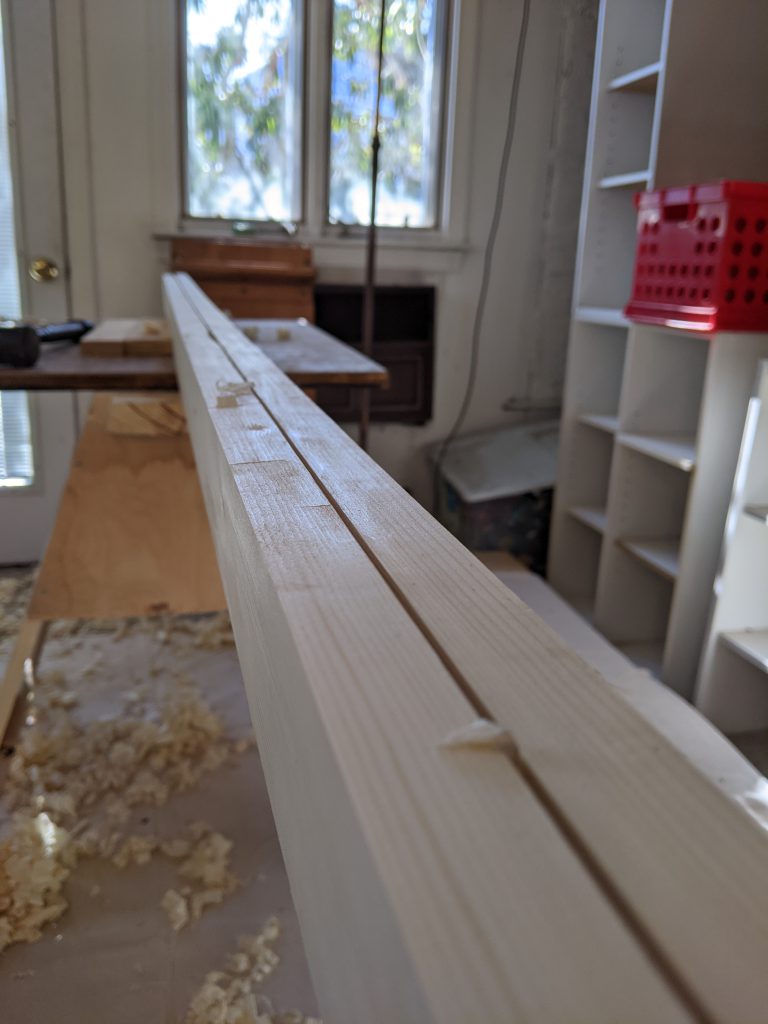
Someday maybe I’ll acquire a machine planer, but I haven’t been able to justify it yet. And it’s still a pleasure to hand plane such clear pieces of softwood with a nice sharp blade. Here they are starting to look pretty clean after the saw marks have been removed. The ends of the gunwhales get tapered and shaped in the ends where they will rise up.
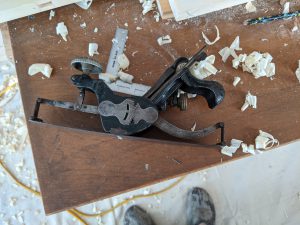
I splurged and bought this antique compass plane on E-Bay to shape those inside curves. This is an amazingly clever tool; its sole can be adjusted to a range of different curvatures. The one I got was probably 100 years old, but still in great condition. Whoever sold it had even kept the blade sharp, so I didn’t even really need to touch it up before using it!
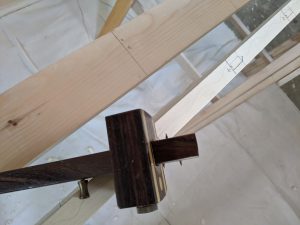
Next, I measured and marked out the locations for all the deck beams and ribs. I love this marking tool: it makes it easy to get the same distance from the edge every time, and even has a two-point setup so you can mark both sides of the mortise at once.
Then I  cut the mortises for the ribs using a router with a jig to enable me to reliably and fairly quickly make the same cuts. The mortises for the deck beams need to be cut at a compound angle, so they will be done later using a less automated process, once the shape of the gunwhales is defined.
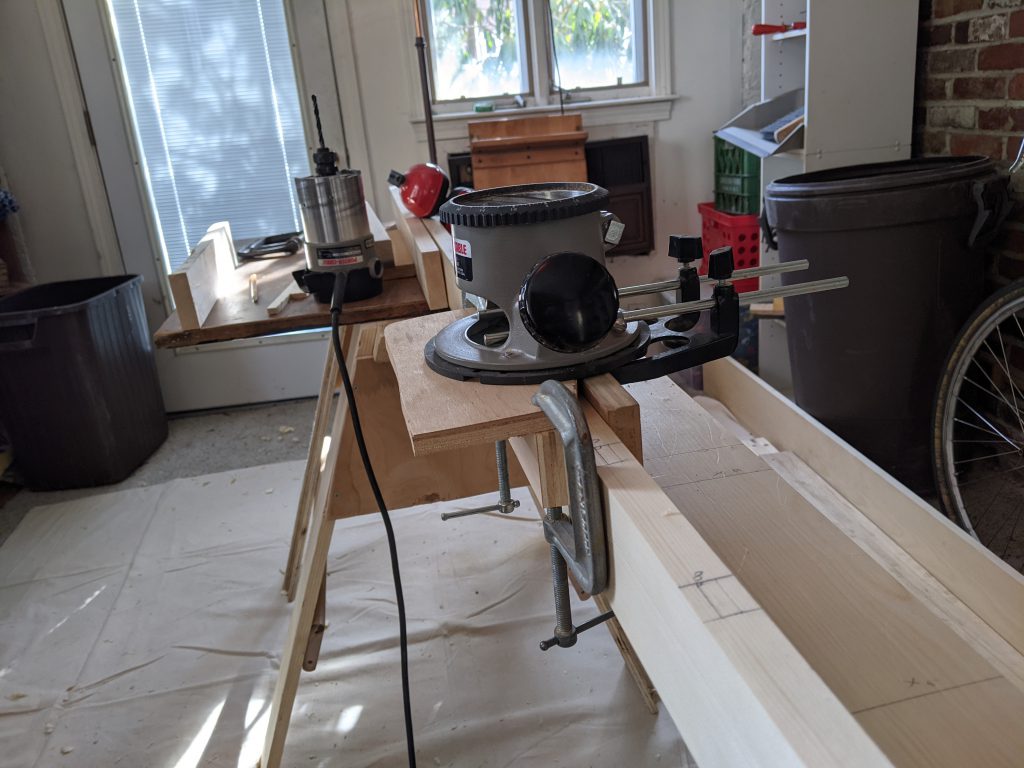
The rib mortises came out pretty nice
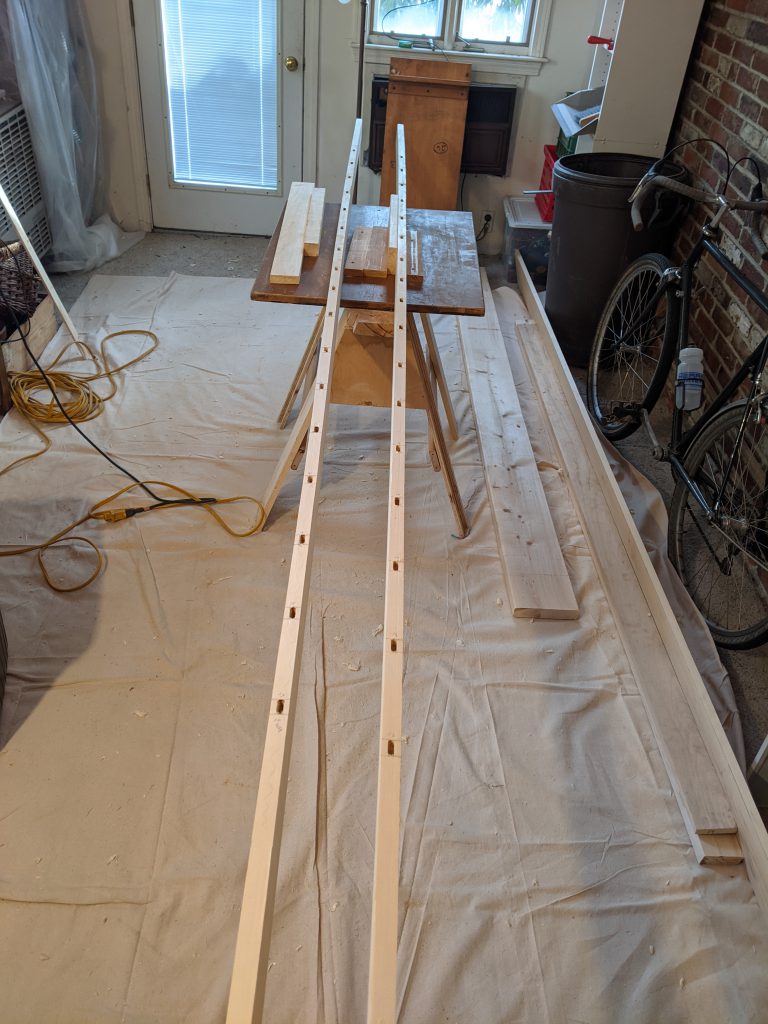
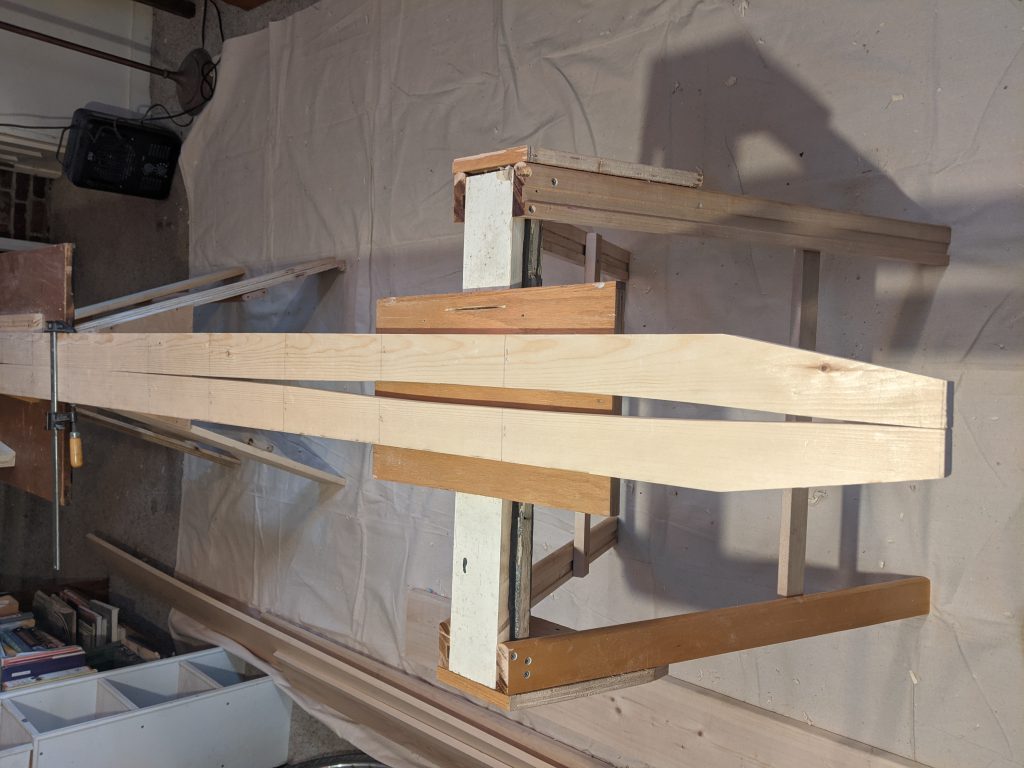
The form of the boat is defined using plywood stretchers that hold the gunwhales. I think this process was designed for a much longer boat which would have had a gentler bend. In this form factor, the pressure on the gunwhales was pretty intense, and it was hard to get the forms to stay in place. The one in the foreground below really wanted to slip forward. I was consumed with anguish for days worrying that I had veered too far off the plan I was following. One concern I had was that the gunwhale tips didn’t meet at a sufficiently acute angle. They were expected to end up nearly parallel, but in my setup they left a pretty gap where they met, as you can see below.
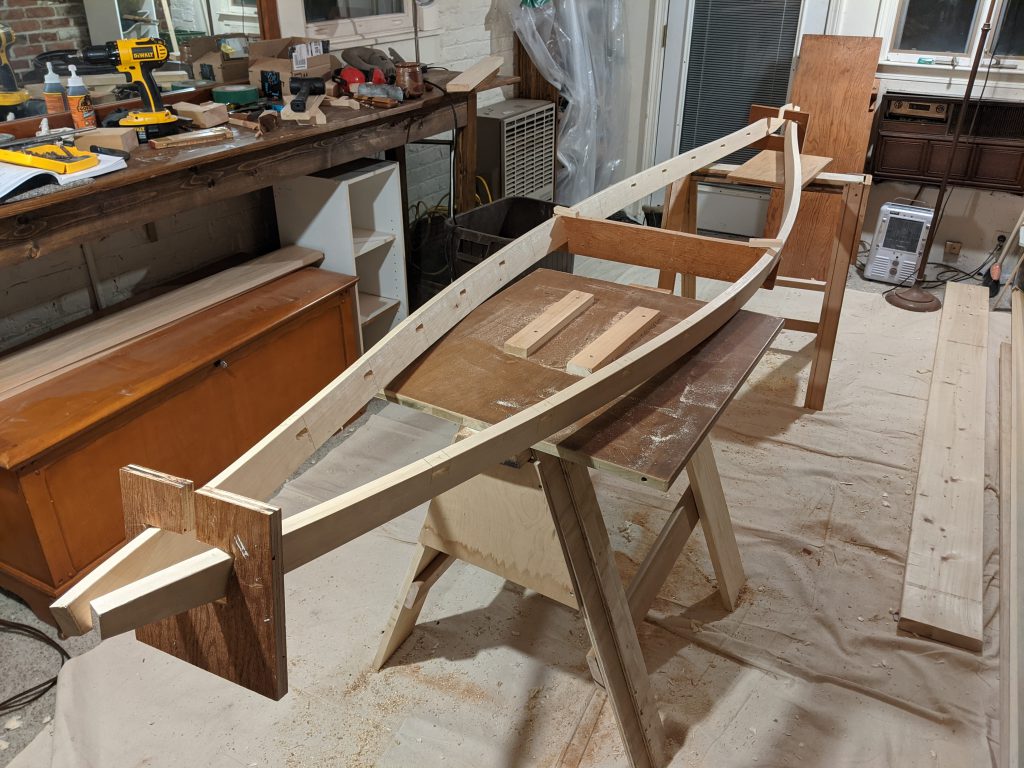
 After mighty struggles to force a tighter shape into the gunwhales, I finally decided to relax and let the wood dictate the shape. I added a breasthook to hold everything together in the stern. Cutting the compound angles on that block was a fun challenge.
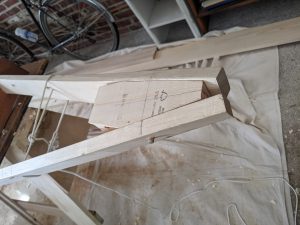
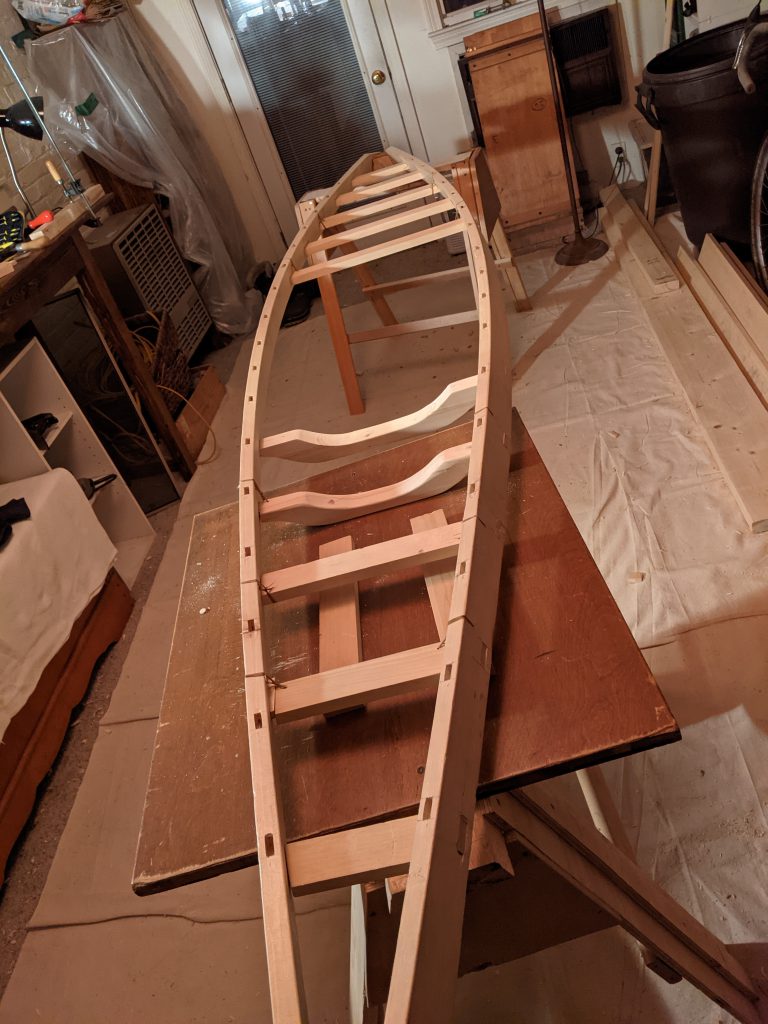
Here is the boat really beginning to take shape, with all its deck beams in place. The curved beams are raised up to allow space for the paddler’s legs. This is going to be a pretty tight fit! You can see the variety of clamping systems I used to hold everything together. I had some major issues getting to this point. When I first tried fitting everything together, some of the beams were too short, or maybe the others were too long? I had measured so carefully! What went wrong there I’m still not entirely sure. I think maybe the shape changed while I was measuring? It was under so much tension, and possibly not held completely still. I had to re-cut some of the beams to get them to fit.

Another significant challenge was ensuring the symmetry of the arrangement. The whole setup did have a tendency to rack and twist ever so slightly, and if I didn’t correct for that, I would end up with a crooked boat that wouldn’t track straight. Again I think a lot of these issues resulted from having shortened the boat from its original design. If I did this again, I might consider using beefier spreaders, or some other system for shaping the gunwhales.
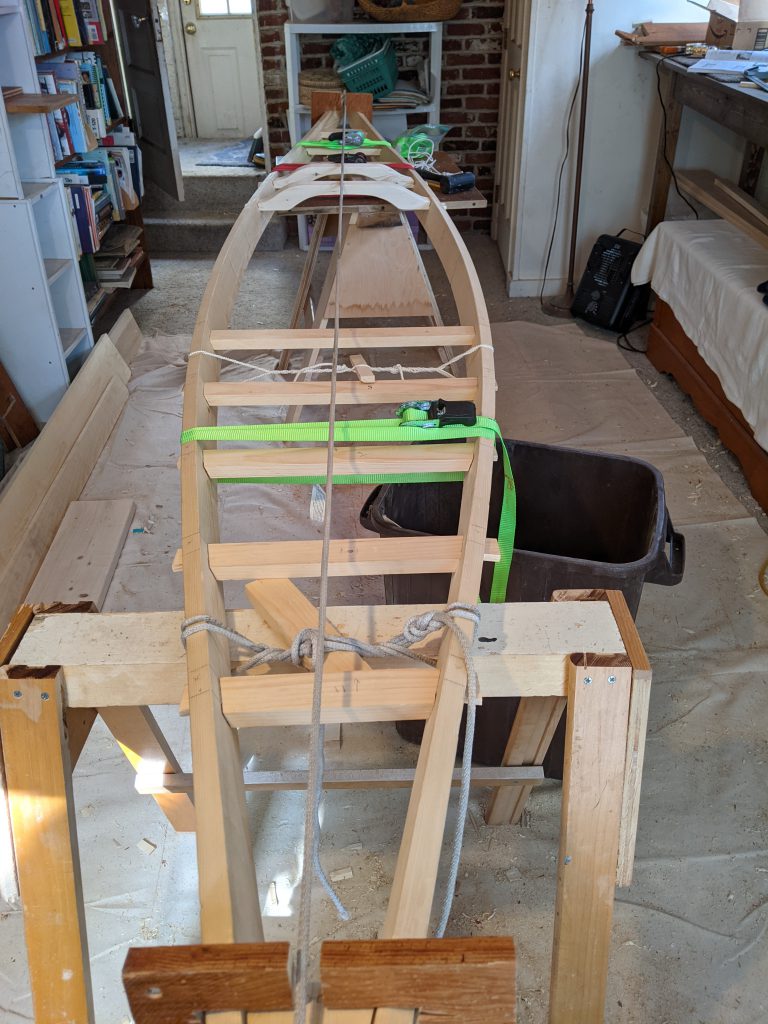
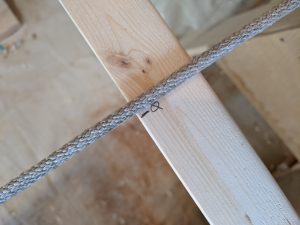
In the end the line I ran from end to end settled over the previously-marked midpoint of the center beam pretty well. Off by less than 1/8″ over 12′ – I’ll take it!
One more photo of this stage, after pegging and lashing the ribs in place and removing the clamps:
This was a major milestone, time to take a break. When we come back, it’ll be time to steam-bend the ribs!

 

Skin-on-frame Kayak, prelude

I’m reviving this blog years because I feel like sharing a project I’ve been working on: building a skin-on-frame kayak. I don’t propose to teach how to build a kayak; I’m just learning! Nor is this a history of The Kayak. This is a personal journey of escape and discovery. I will share what I learn, the mistakes and struggles. Hopefully it ends with me in a boat on the water. Maybe I’ll even learn to roll it. I hope folks will find this interesting. For me it has been truly life saving.

[Note: about this blog, and comments. No more comments 🙁 I would love to get your comments! But the internet does not make it easy. When I last checked I had almost 100,000 spam comments, and I don’t want to devote my life to defeating spam. So … if you want to reply to me, send me a note on twitter, where I am @msokolov].

I was largely working at home before the Pan***ic started, so at first I hoped it wouldn’t make all that much difference to me, but after months of basically never going anywhere except upstairs and downstairs, and occasionally out in the yard to fill the bird feeder, my life started to feel pretty low-dimensional. Eat, sleep, crap, work, rinse, repeat. Shower occasionally, and maybe cut my own hair. I think we’re all living some version of this. So I started coming up with stuff to do at home. Picked up the piano again, played some video games, but I found myself dreaming about a life out of doors.

I’m not sure exactly where I got the idea to work on making a kayak. Maybe because my daughter has been working on a fantastic boat restoration project. Maybe because a boat fantasy is a pretty good way to dream of a life of adventure while cooped up indoors during a New England winter during a raging pandemic. For whatever reason, the idea of building a boat crept up on me until it seemed I just had to do it. Over the years I’ve leveled up my amateur woodworking skills and tools, so I managed to convince myself I was ready for some kind of boatbuilding project, but I wanted to find something on the right scale, and a kayak is just about the smallest watercraft there is. Its prehistoric roots also gave it an appealing glamor. Early Americans made kayaks from driftwood, bones and animal sinew that were sturdy enough to use for hunting whales in the open ocean! Surely with modern tools I could accomplish something that wouldn’t sink?

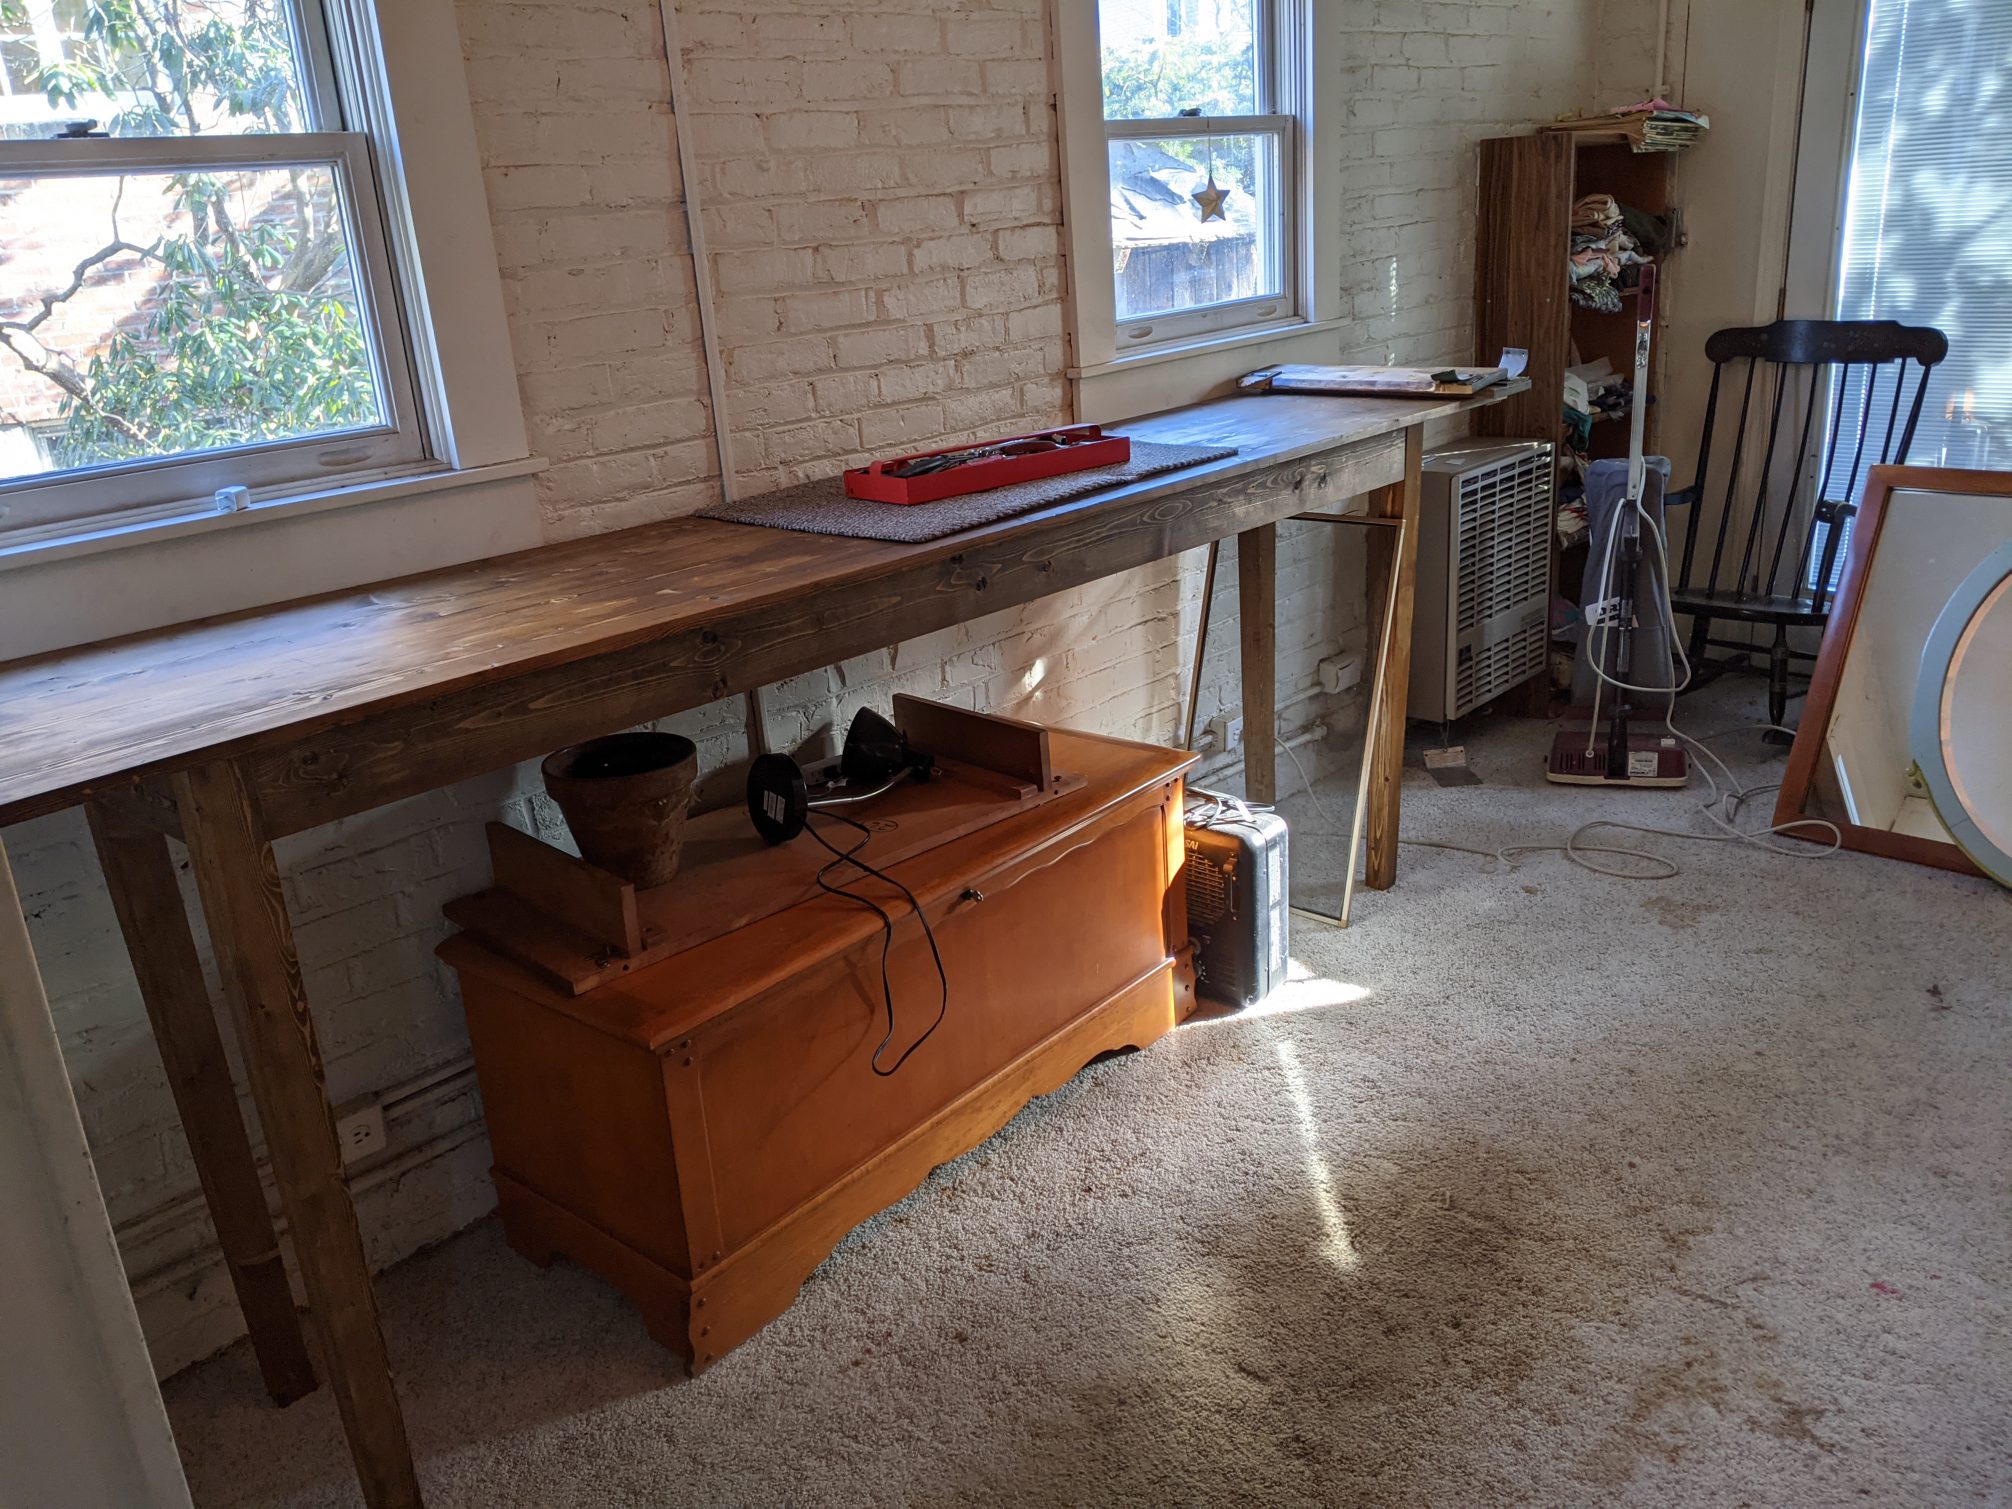
I started by clearing out our semi-finished garage-turned-extra room and buying some books. Cleaning out the room rapidly devolved into a yak-shaving exercise. Where would all the stuff go? This included some large family heirlooms, a guest futon couch, a big piece from our youngest daughter’s senior thesis project, and these larger encumbrances were surrounded by the other more minute detritus accumulated over the years in this out of the way corner of our house. I am pretty ruthless about throwing things away, but a lot of this stuff needed to stay. What about the family VHS collection? Disney – in the trash. Unlabeled VHS cassette? It might have somebody’s birthday on it! I made a box to send to a digitization service some day. It was a challenge not to become overwhelmed by all the stuff. At one point, I thought I might pull up the ratty old carpet and tear down the sagging ceiling. I fantasized about trash bags full of plaster and watched online videos about pulling up carpet tacks. In the end I decided none of this was essential to my project though. Happily I was able to repurpose some of the items for use in my new workspace. Here’s a glimpse. At least I would have decent light, especially after rewiring some defunct standing lamps we had stashed away in the basement.

The workspace

I bought a random sampling of how-to books about kayak making. There has been an explosion of books in this area: apparently I’m not the only one with this itch. The one I ended up settling on as a guide was Building the Greenland Kayak, by Chris Cunningham. This book’s esthetic appealed to me, as did its detailed instructions. The kayak design it presents is (I believe) closely copied from traditional models in its shape and parts. The ribs that form the hull are bent wood, and the joinery is all dowels and lashings; no glue or screws are used. The materials called for are adapted somewhat for modern usage, mainly in the covering, which is not going to be sealskin, but nylon or canvas (I chose canvas). Cunningham also presents various construction techniques adapted for whatever power tools may be available. He indicates possible approaches using only hand tools at every step, but it certainly would be a lot more work to mill the long stock without a circular or table saw. Apparently one traditional method of making ribs flexible enough to bend was to chew on them. I opted to save my teeth and make a steam box.

Another book I enjoyed reading on the subject was George Putz’ Wood and Canvas Kayak Building. This book is encrusted with salty Maine wisdom! I think its designs are less fussy to build, and probably a bit more comfortable, if heavier, than the bent-rib Greenland variety. Rather than bent ribs for a frame, Putz’ boats deploy a trestle-like amalgamation of cross-members along with floor “timbers” for their hull, and he has no pretense of traditional construction, relying on screws, glue and other fasteners throughout. I might try these ideas next time. I also consulted Fuselage Frame Boats, by Jeff Horton, which presents yet another approach to wood kayak construction; plywood frames to shape the hull (the fuselage).

Finally I should mention Brian Schulz of Cape Falcon Kayak. I chose not to enroll in Brian’s course or buy his plans, but I did learn a lot from the videos he has posted online, especially his excellent advice about steam bending.

I have lots more to say, but not today. Next time I’ll start gathering materials and making the first cuts.

Skin-on-frame Kayak, part 1

Zigzag wrapup

Phew – the polyurethane was drying on my last Zigzag chair while I wrote this post. It’s been a fascinating process, and I’ve learned a lot. Some questions got answered: the chair does not collapse under you when you sit on it, as numerous testers have confirmed, although it does bounce in a way that can be disconcerting if you are expecting it to give way at any moment. I still wondered how the idea for this form arose, and why it had to wait until the Twentieth Century.

IMG_0452

My initial thought was that something about the need for bolts to sustain the chair’s joints made it difficult to achieve in older times. However. screws are ancient, were used in furniture production as early as the fifteenth century, and began to be mass produced in the nineteenth century in much the same form as they are today (see http://cool.conservation-us.org/coolaic/sg/wag/Am_Wood_Screws.pdf). Nuts and bolts developed along similar lines, driven by the carriage industry, and widely used in furniture, especially beds, as early as the eighteenth century (when they were hand-forged). In fact nothing obvious about the construction of the chair itself would have made it impossible to achieve in an earlier time. However it certainly would have been more difficult. Highly-precise joinery that is more or less routine today and achievable by workers with a modicum of experience using power tools would have presented a daunting challenge to the master craftsmen of the past working only with hand tools.

The Zigzag exemplified the sleek design aesthetic of the machine age (in particular the De Stijl movement) with its minimal form, simple materials and lack of ornamentation. In previous generations, one could have achieved something similar, but there was simply no reason too: one imagines the idea would have been rejected as a bizarre freakish malformed thing. Acutely angled weight-bearing joints would have been difficult to achieve without machine tools; there was no call for them; they were simply not a part of the design vocabulary.

The chair is the most humane piece of furniture. Its job is to support our bodies, but in its simplest form a chair is a rigid unchanging object, while we remain free to fold and unfold, and we come in many sizes and shapes. Every chair embodies a series of compromises: the height of the seat, the angle of the back, the flexibility of the materials. These, and even carven ornamentations and surface finishes, influence the fitness of a chair for a certain person or activity. The demands placed on a chair by their very nature fuse its appearance and its function into a single inseparable shape, which is why a designer’s chairs often exemplify their aesthetic more than any other work.

I find the Zigzag attractively arresting, and I think it will make excellent chair for working at a desk and for dining, if not for napping. My only regret is not to have made at least a few of them higher, since I like to work at a high drafting chair. A slightly odd feature of the chair that takes some getting used to is its tendency to flex *forwards*, but as my father says, nobody has been pitched across the table yet.

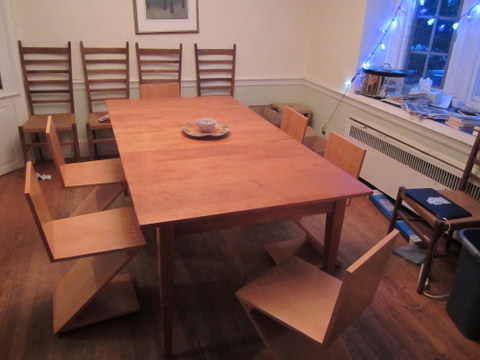
OK I finished the chairs before I finished the blog post; here you see them installed in my dining room.

set of 6 in situ

set of 6 in situ

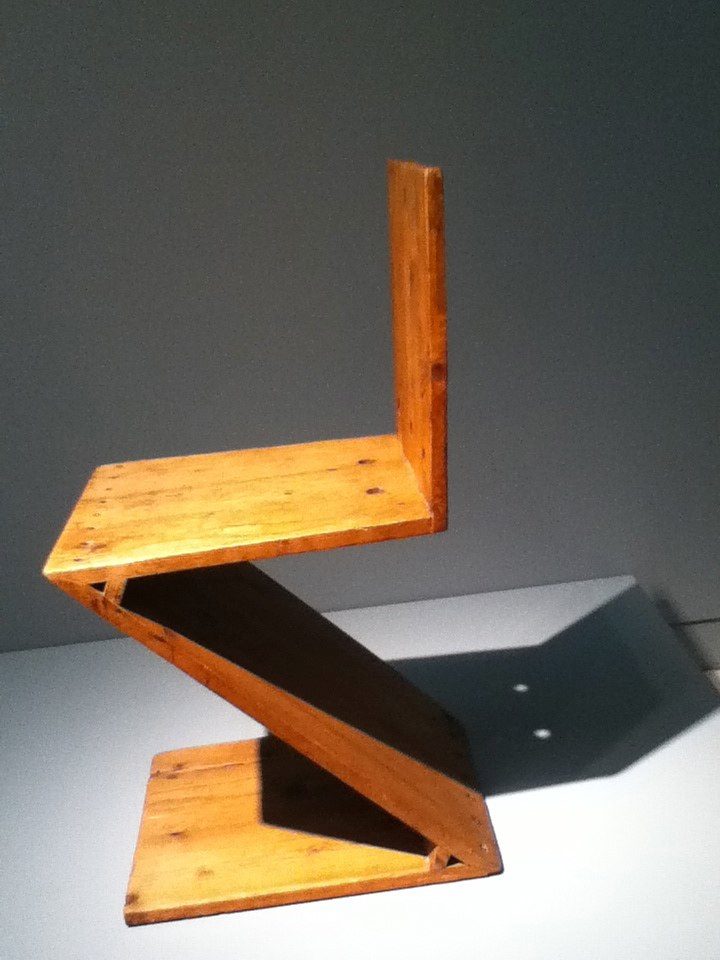
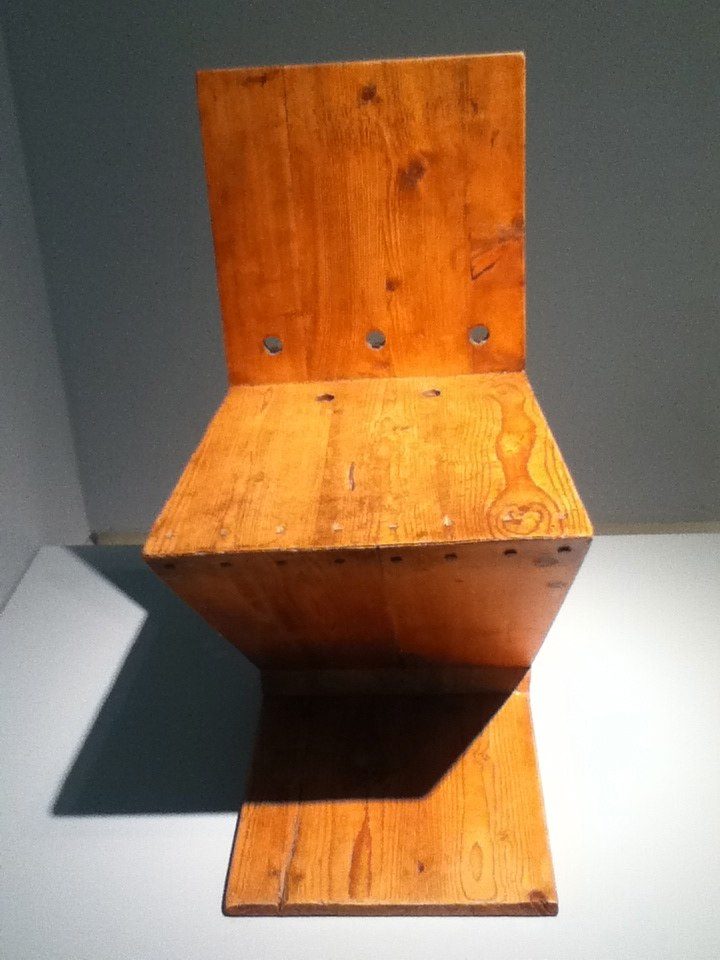
For comparison, here are some photos of an example from Rietveld’s studio produced in 1938:

1938 example from Rietveld's studio

1938 example from Rietveld’s studio, from the collection of the Carnegie-Mellon Museum of Art, photo: Lauren Hammer

zzorig2

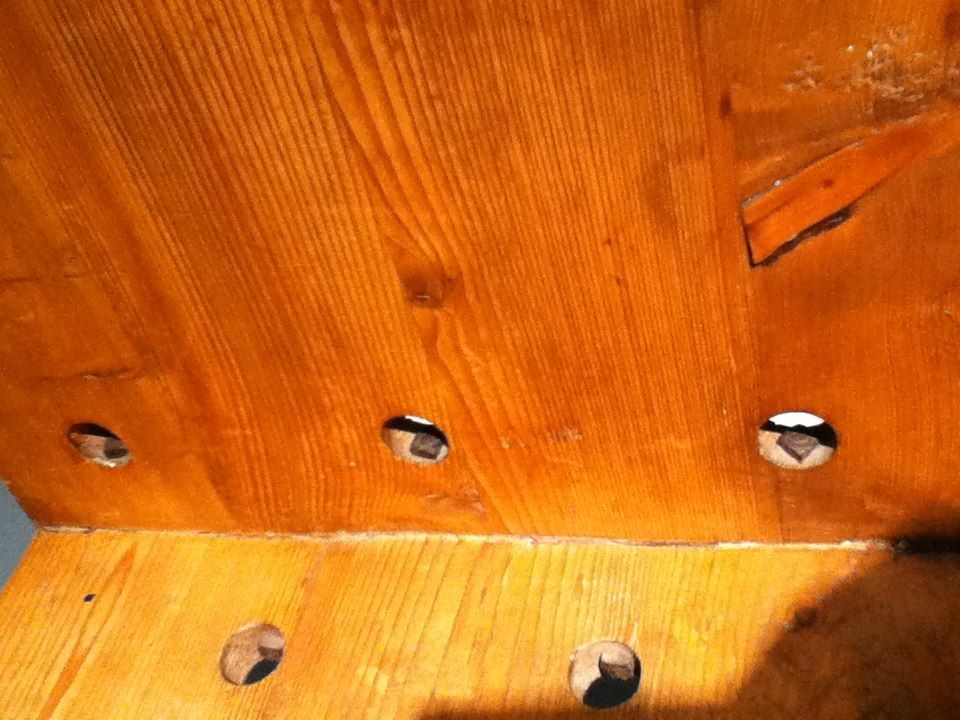
Note the bolt-holes in the seat/back joint. I didn’t find it necessary to bolt this joint since the dovetails seem to be strong enough. On the other hand it took me many weekends over the course of four months to make eight chairs.

zzbolts

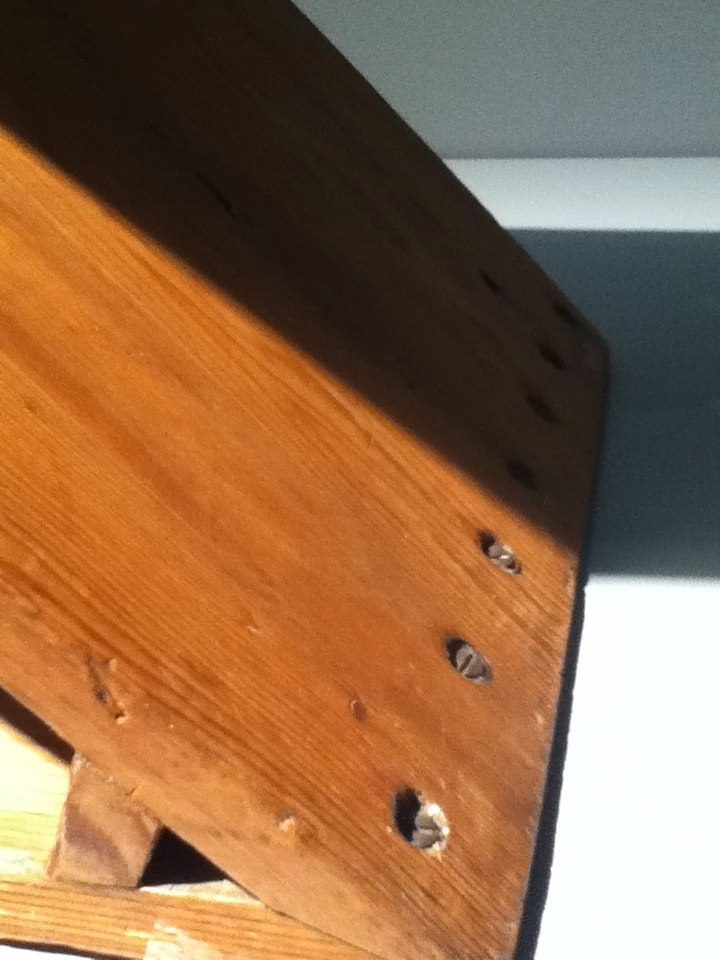
Also note that the screws are simply exposed
zzbolts2

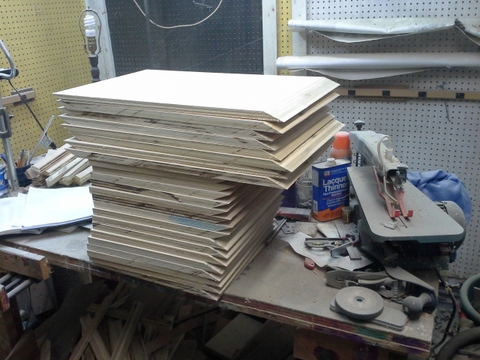
And some outtakes from the production. I ended up spending an inordinate amount of time finishing off the plywood edges, which is thr process being depicted below. Every chair required 8 pieces of trim that had to be fitted and glued. Because I made these from a standard 3/4-inch fir plank, the thickness matched the plywood’s exactly. Unfortunately this meant a very small tolerance for error during the gluing-up, and when it went wrong, the risk of sanding through the very thin plywood veneer was exacerbated. It would save a lot of time and effort to use solid wood. Still, the nicely-veneered fine-grained plywood surface is attractive and to my eye, enhances the modernist feel. Still, blue paint might be a nice way to go too!

IMG_0416

IMG_0420

IMG_0423

IMG_0424

IMG_0426

IMG_0430

IMG_0432

first few joints

I forgot to post these awesome photos of the zigzag bevels from a few weeks back. It was a joy cutting them with a new supersmooth sawblade with lots of teeth.

tablesaw setup for cutting zigzag bevels

tablesaw setup for cutting zigzag bevels

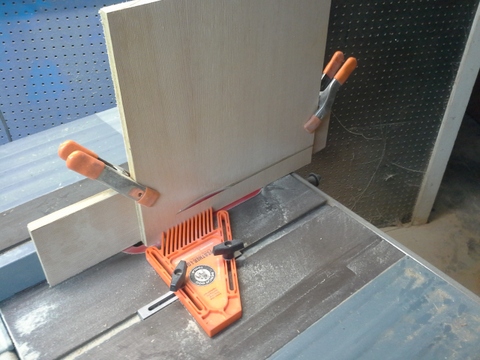
The clamps hold the piece tight to a board that slides along the saw’s fence. Without this only a tiny edge would be riding on the surface of the saw. The orange plastic thing holds the piece being cut securely against that arrangement, helping to make sure the cuts come out straight and even.

all 22º zigzag bevels cut

all 22º zigzag bevels cut

The setup I made for cutting the dovetail coves wasn’t enough to cut the needed space in a single cut. Now I need to do another pass over them in order to get them deep enough and to cut the insides at the 8 degree angle needed to lean the backs.

IMG_0333

Notice how the board clamped to the front side is angled. The router base will rest on it and cut at the same angle inside the joint.

router with fence

router with fence

finishing up the dovetail coves

finishing up the dovetail coves

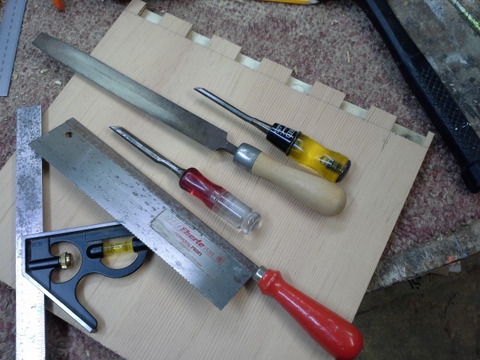
The router is an awesome, powerful tool that can make cove cuts that can’t be done with a saw. In the old days, you would use a some combination of saw & drill (auger, gimlet) to get rid of as much stock as possible and then finish up the edges with a chisel. The router gets much closer to the edges of the joint, but it still leaves rounded corners. For the final cleanup and fitting, we need the chisel and file.

hand tools

hand tools

The first of the tails, marked up and ready to be cut. I tried doing this free-hand with the router, but discovered it was too hard to cut a clean, straight line. For the rest, I’ll use the saw to cut along the marked lines before cleaning out the waste with the router. This will also help prevent me from ripping the veneer facing off a large section of the plywood.

marking the tails

marking the tails

Here you can see the surface torn out from one the tails cut before I outlined the tails with the handsaw. Thankfully it’ll be under the seat.

dovetail back side showing grain tearout (oops!)

dovetail back side showing grain tearout (oops!)

This one’s neater.

dovetail back side

dovetail back side

Our first seats! It’s so satisfying when the joints come together.

first seats joined

first seats joined